-
Notifications
You must be signed in to change notification settings - Fork 3
_SKU_DFR0423_自锁按钮模块_Self Locking_Switch
Angelo edited this page Dec 30, 2019
·
1 revision
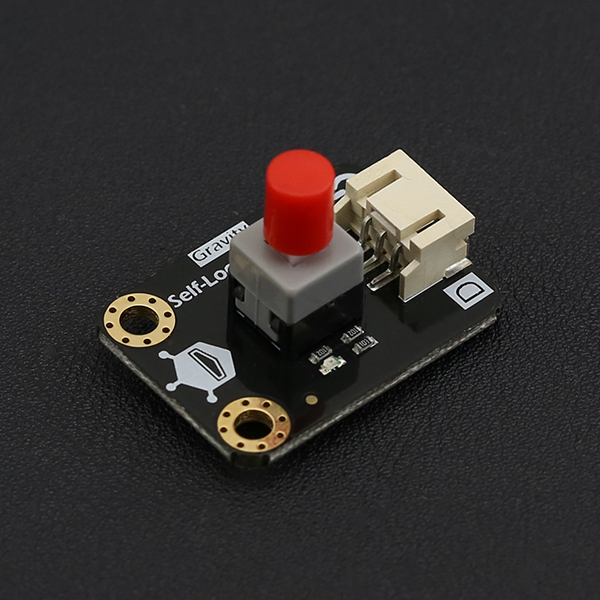
DFRobot自锁按钮模块,采用按压式设计,带自锁定功能,可以保持按键被按下时状态,输出简单的数字信号。可以与Arduino专用传感器扩展板结合使用,实现非常有趣的互动作品。
- 工作电压:+3.3-5V
- 输出类型:数字信号
- 接口模式:PH2.0-3P
- 模块尺寸:30mm x 22mm
| | |
| ---------------------------------------------- | |
|

| 标号 | 名称 | 功能描述 |
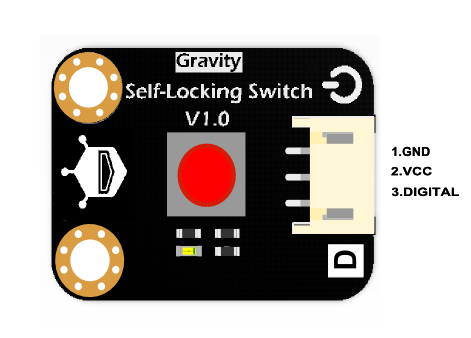
| 1 | GND | 接地脚 |
| 2 | VCC | 电源脚 |
| 3 | DIGITAL | 数字输出脚 |
引脚
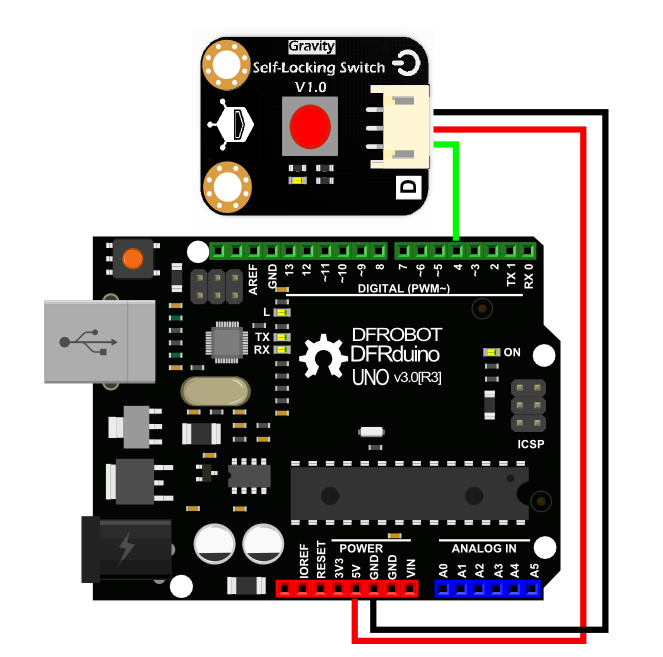
这是一段简单的测试代码,检测按键按下与否。
-
硬件
- UNO x1
- Self-Locking Switch x1
- 杜邦线 若干
|
/***************************************************
* Self-Locking Switch
* ****************************************************
* This example light the LED when press the button

* @author linfeng([email protected])
* @version  V1.0
* @date  2016-1-25

* GNU Lesser General Public License.
* See <http://www.gnu.org/licenses/> for details.
* All above must be included in any redistribution
* ****************************************************/


int ledPin = 13;
int inputPin = 4;

void setup() {
  pinMode(ledPin, OUTPUT);
  pinMode(inputPin, INPUT);
}

void loop(){
  int val = digitalRead(inputPin);
  if (val == HIGH) {
    digitalWrite(ledPin, HIGH);
  } else {
    digitalWrite(ledPin, LOW);
  }
}
|}
1、下载及安装软件。下载地址:http://www.mindplus.cc 详细教程:Mind+基础wiki教程-软件下载安装 2、切换到“上传模式”。 详细教程:Mind+基础wiki教程-上传模式编程流程 3、“扩展”中选择“主控板”中的“Arduino Uno”。 详细教程:Mind+基础wiki教程-加载扩展库流程 4、进行编程,程序如下图: 5、菜单“连接设备”,“上传到设备”
当你按下按键时,主板子上的13号引脚的LED将会被点亮;再次按键,主板子上的13号引脚的LED将会被熄灭。
还没有客户对此产品有任何问题,欢迎通过qq或者论坛联系我们!
| 更多问题及有趣的应用,可以 访问论坛 进行查阅或发帖! |


