PlanetSprites
When I first started making planet sprites, they looked good individually but when several planets were next to each other, they looked sloppy because the shadows, atmosphere, etc. were done differently for each one. So, I switched to using the same basic procedure for every planet, to improve consistency. This tutorial describes that procedure so you can make planet sprites that will match the existing ones, and is not meant to replace the many good tutorials available elsewhere.
The planets are meant to look realistic enough that I can mix in real NASA images without them looking out of place. That requires a lot of restraint in the artwork: avoiding bright colors, high-contrast atmosphere effects, etc.
This tutorial uses GIMP, but Photoshop should have all the same features if you are using it instead.
Start by finding a high-resolution, public domain texture image that will serve as the surface of the planet. A good source for public domain images is morguefile.com.
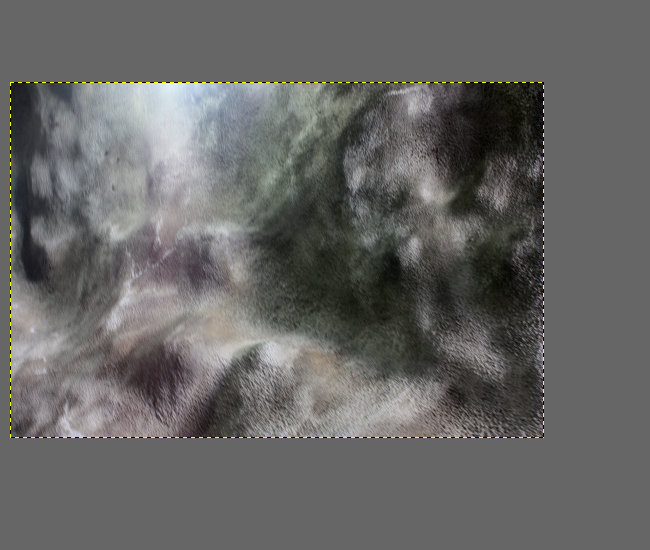
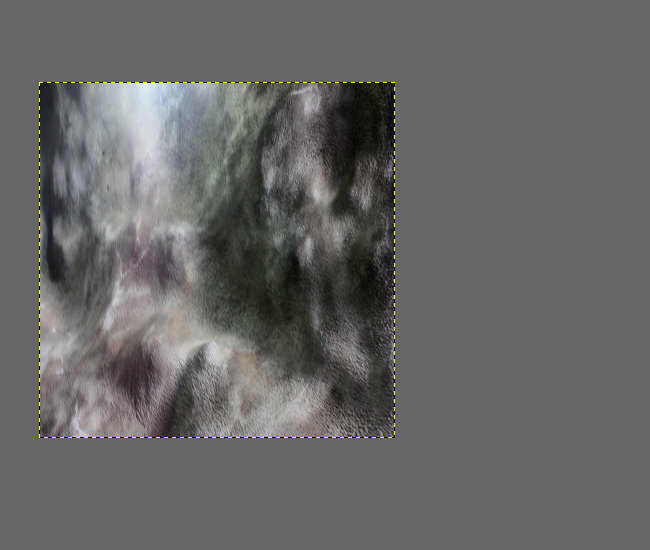
The image will be wrapped around the sphere horizontally, which means that the horizontal dimension of the image is stretched out across a longer distance than the vertical dimension. So, if the source image is not square, orient it so the width is greater than the height, then shrink it to a square.
At this stage, you can also play around with "Hue/Saturation" or "Curves" to adjust the color of the image. Be sure not to make the colors too contrasty or saturated - that gives it a cartoonish, unrealistic look. If the texture you are working with has very large differences in brightness, you might consider duplicating it, rotating it 90 degrees, and averaging the two images together to tone down the variation a bit.
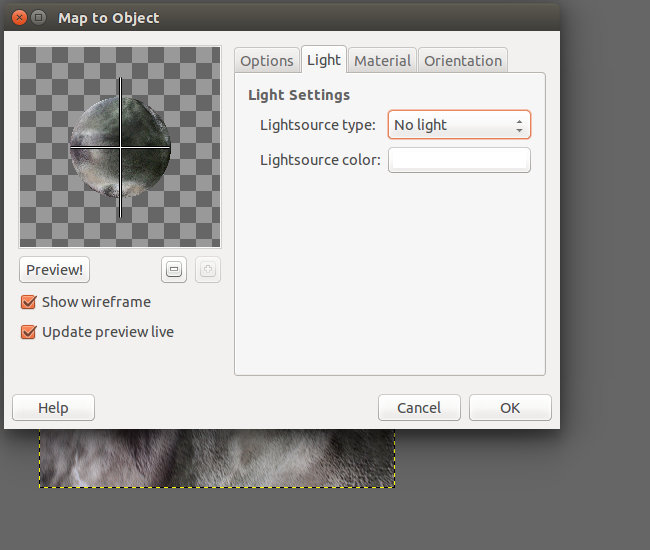
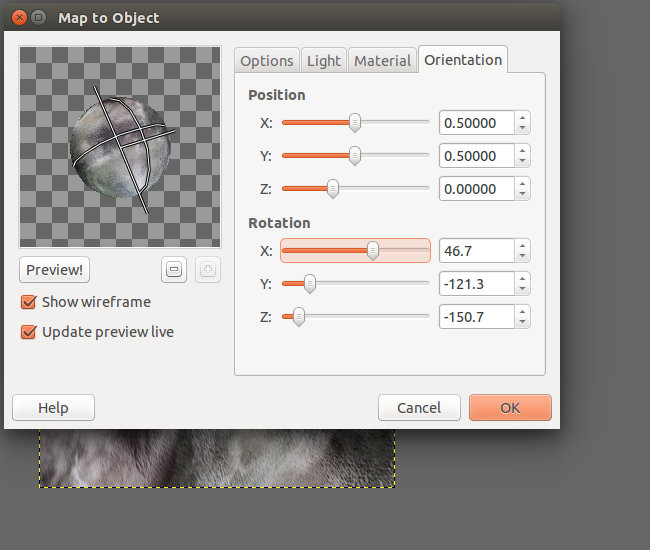
Select Filter -> Map -> Map Object, and map the image to a sphere, with no lighting, with a transparent background. You can play around with the rotation parameters to present the prettiest side of the planet, but make sure the position is left at exactly (.5, .5)!
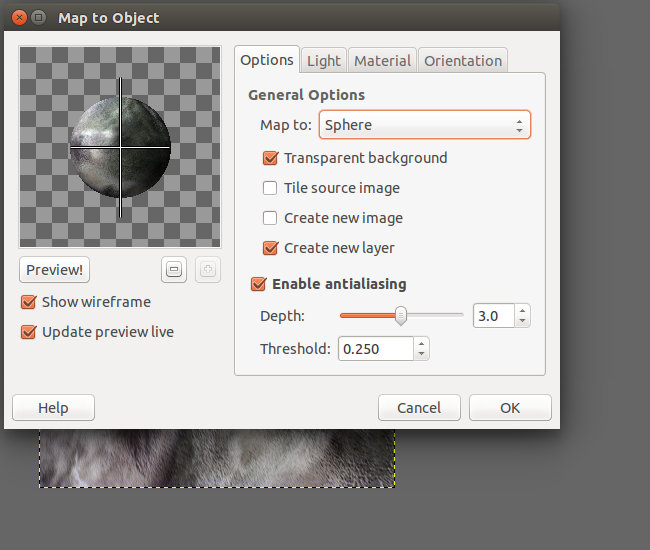
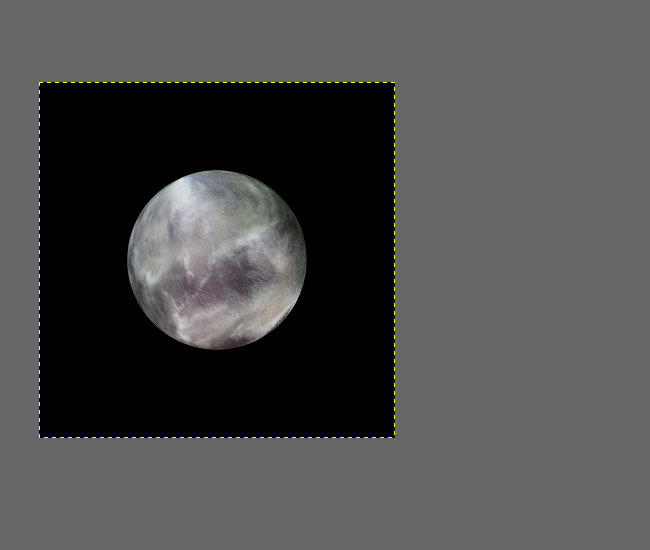
This creates a new layer. You can fill the original layer with black, to provide a backdrop for editing the planet.
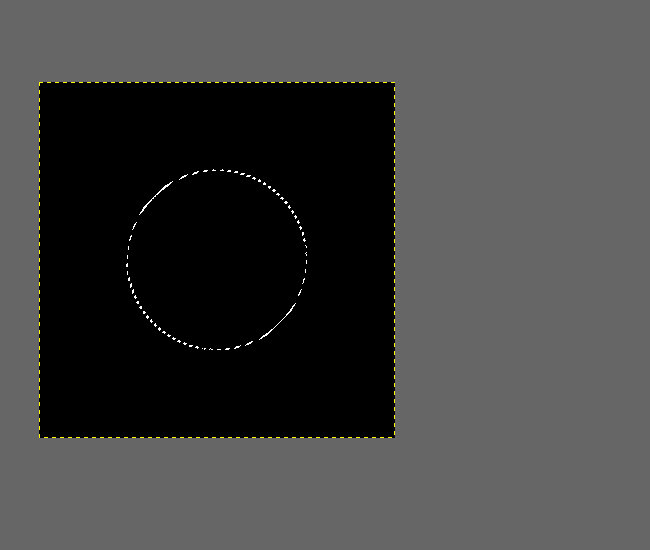
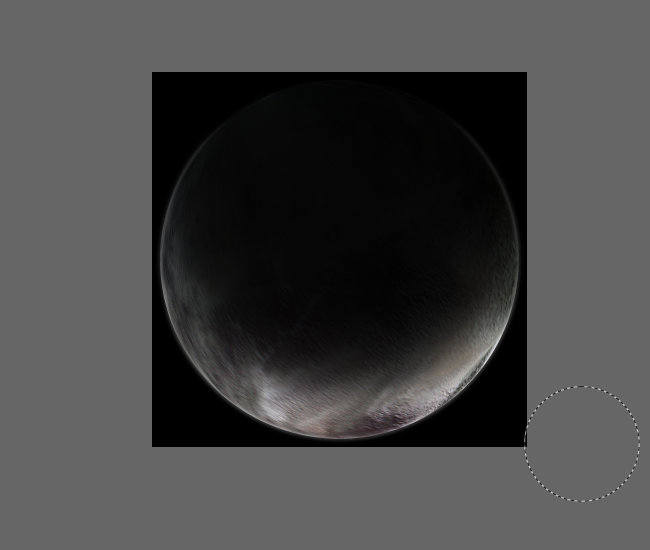
Select the planet surface texture layer and do Layer -> Transparency -> Alpha to Selection to select just the planet. Create a new layer, and fill the planet's circle with black. Then, create another new layer, and do Select -> Border of 2 pixels, feathered. Fill this region with the color to be used for the atmosphere (white for a terrestrial planet, or an off-white tint of the main color of the planet for a gas giant).
Select -> None and then Filter -> Blur -> Gaussian Blur the atmosphere ring layer with a blur width of about 1% of the size of the image.
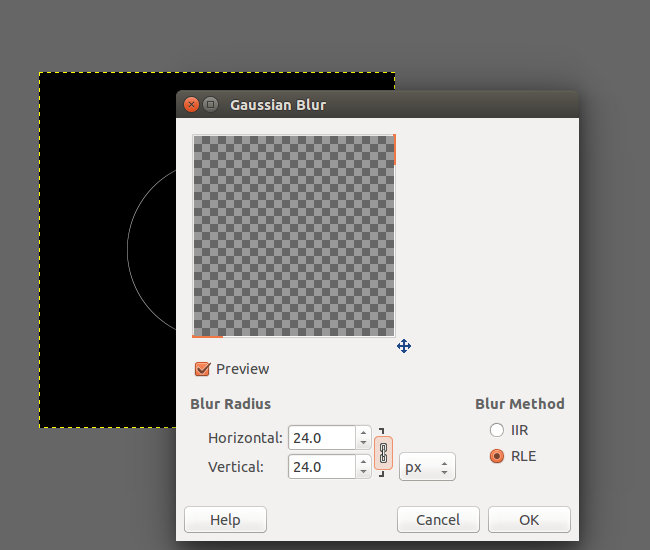
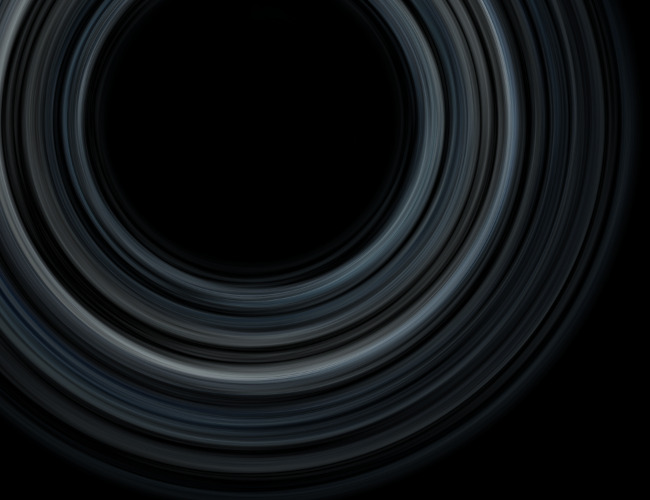
Now, we'll ignore the atmosphere layer for a while and work on the shadows. Select the black disk you created previously, and do a Gaussian Blur of about 10% of the image width, or less if this planet does not have much atmosphere, and should therefore have a sharper edge to the terminator line (the night / day boundary).
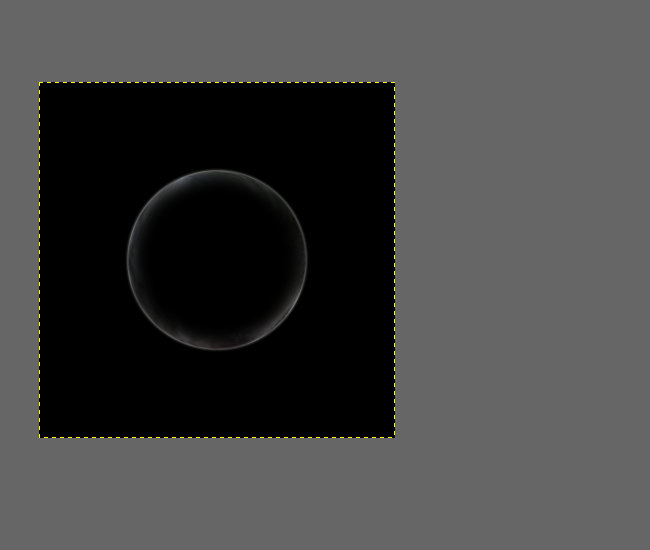
Switch the blending mode of this layer to "Multiply," and its opacity to 80%. It is important to use exactly 80%, so that all the planet sprites look roughly the same. In the original set of graphics, I used a different opacity and position for each, and once I tried to combine multiple sprites per solar system, it looked really tacky! Move this layer directly upwards until between 1/5 and 1/6 of the diameter of the planet is "lit" and the rest is in shadow. (For consistency, it's important that all the planets have roughly the same portion covered in shadow.)
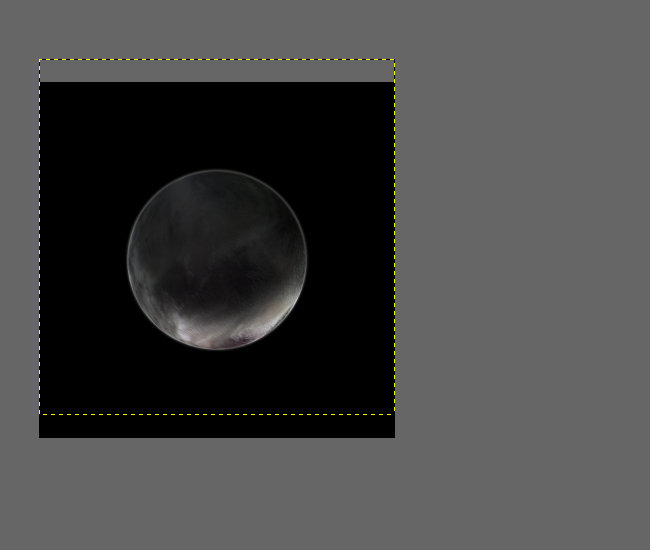
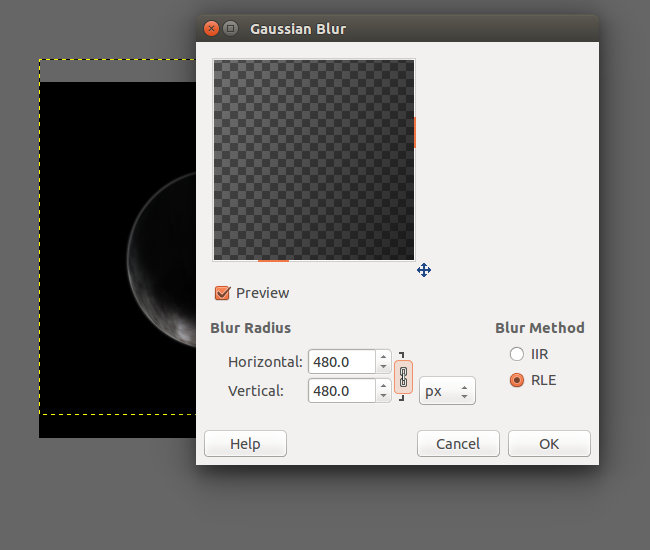
Now, duplicate the shadow layer, and blur it with twice the width of the previous blur. Move it up even farther, so that it is centered perhaps 3/4 of the way up the planet. This makes it so that the night side gradually fades from 80% black to 96% black.
Switch back to the layer with the atmosphere ring. Using a big, fuzzy eraser, cut in from both edges so that the atmosphere on the top half of each side tapers from full strength to nothing. If the planet has a very thick atmosphere, the lit circle of atmosphere may extend farther upward beyond the terminator, but it should never go all the way to the top. (Unless cities are lighting the sky, as discussed below.)
If the atmosphere still looks too thick, you may want to reduce its opacity or use the eraser on other parts of it. The goal is for the atmosphere to be, as it is on a real planet, very subtle. The earth's atmosphere, for example, is only 1% of its width!

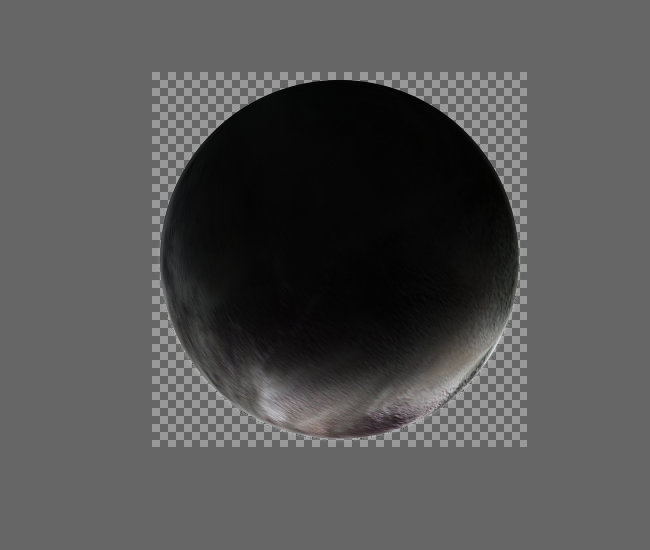
Modify the canvas size to include just the planet plus the atmosphere. Save the image as a .xcf. It's important to have "source" files for all the graphics, so they can be modified if necessary in the future.
Hide the black background and use Merge Visible Layers to create a single, transparent sprite to save. Resize it:
- Habitable planets: 150 to 210 pixels wide (Earth is 180).
- Other terrestrial planets: 100 to 250 pixels wide.
- Moons: 60 to 110 pixels wide.
- Ice giants (like Neptune and Uranus): 280 to 360 pixels wide.
- Gas giants (like Jupiter): 360 - 450 pixels wide (Jupiter is 400).
Save the image as a .png. With practice, this whole process can be done in 5-10 minutes depending on the complexity of the planet you are creating!
After mapping the texture to a sphere, duplicate the planet surface, and select Filter -> Distort -> Emboss. Use an azimuth of 90. An elevation of 60 and a depth of 4 works well, but you can experiment to see if anything works better.
The embossed layer, unfortunately, will have a dark ring around the outside of it. Select Layer -> Transparency -> Alpha To Selection, then Select -> Feather 5 pixels, then Select -> Invert, then press [delete] a few times to erase the edge.
Finally, set the layer's blend mode to "Overlay," and if necessary change its opacity or use Curves... to get a more pleasing and less washed-out effect.
One way to simulate the surface of a gas giant is with a simple motion blur. In the original texture image, select Filter -> Blur -> Motion Blur with a distance of 100 to 200 and an angle of 0 (i.e. completely horizontal). Then, without changing any of the settings, do the "Map Object" step again. Paste the result into a new layer above the planet surface, and set the transparency to whatever looks good, perhaps around 70%. This gives a good compromise of a somewhat smooth, banded surface but with some details still standing out.
Often, a better way to create gas giants is to look for texture images that already have a swirly or banded appearance. Or, you can just take a very narrow strip of a source image and stretch it to be square, so that it will naturally have strong stripes of color in one direction.
Some of the planet sprites have city lights in the dark portion of the planet, to show that it is inhabited. For the lights, find an image with some bright patches. Use the "Curves" tool to change it to just have a few white patches spread out in random clusters, with pure black in between. (You can give the light a slight yellow or blue tint, if you want.)
Resize the light texture to be the same size as the texture you used for the planet, so that when you map it to a sphere, it will be the same exact size. Paste this sphere on top of all the other layers, and set its blend mode to "Screen." If there are too many lights, you can remove a few with the eraser.
Sometimes the "pole" region where the top or bottom of the image is squished together onto the sphere looks like a crater, with lines radiating out from it, which is rather cool. But if it doesn't look cool, you can either rotate the rendering to cut if off, or Layer -> Transparency -> Alpha to Selection and use the "Smudge" tool to round off the sharp edges. (Selecting the opaque pixels lets you smudge freely without worrying about messing up the edge of the planet - if you accidentally pull some transparent pixels into the ring, just push some opaque ones back to fill in the gap.) In general, the planet will probably look best if you rotate it so that the "pole" is in the shadow, and the seam between the left and right sides of the texture is hidden on the back side of the planet.
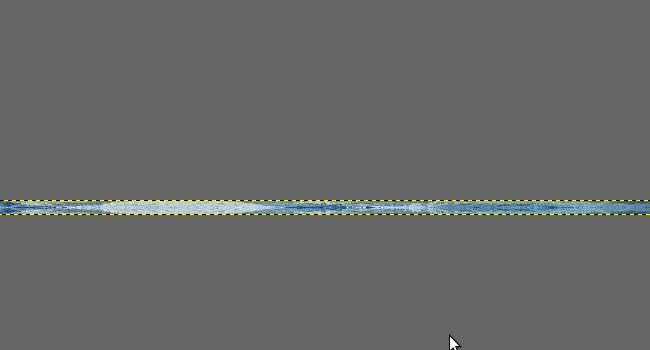
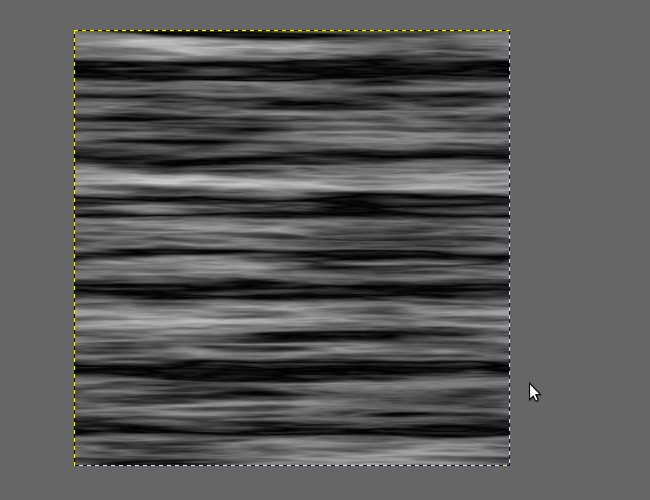
To create rings for a gas giant, the best method I've found is to start by taking a very narrow stripe of color from a photo that has the right sort of colors that you're looking for:
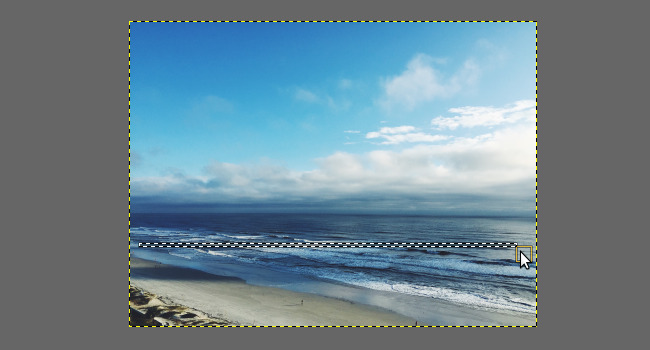
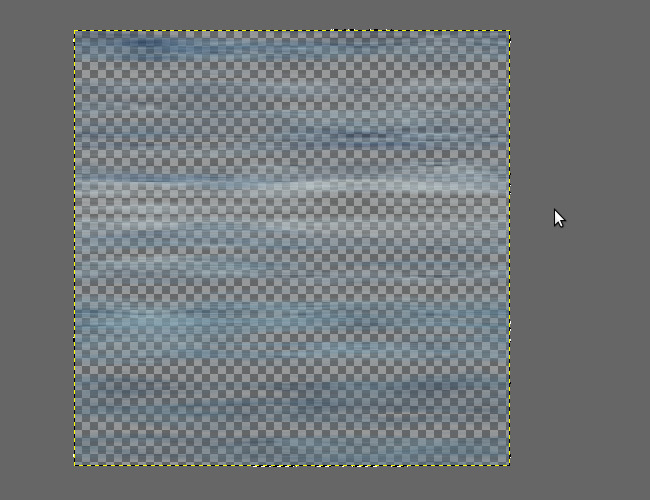
Paste that strip into a separate image:
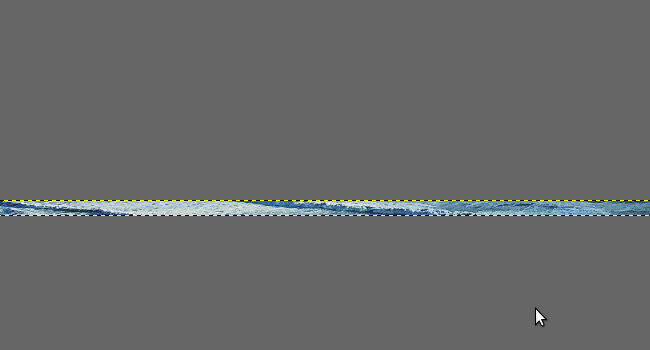
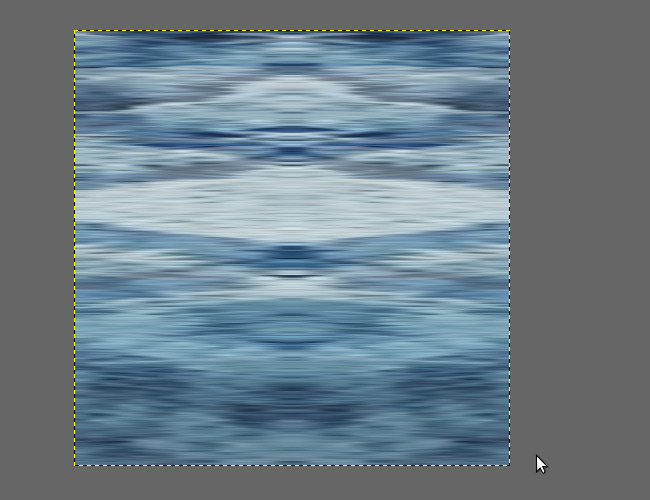
Duplicate that layer, flip it vertically, set its opacity to 50%, then merge it with the original. This is to create a pattern that will "tile" in the vertical direction (which will become the horizontal direction in a minute, when we rotate the image):
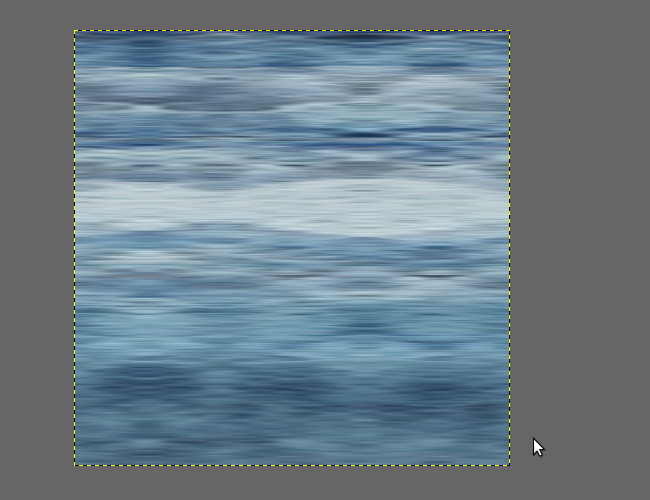
Now, rotate the image 90 degrees and then resize the image to be square. The result is an image with strong horizontal stripes, which will tile if laid end to end from left to right:
If the pattern has too much variation from left to right, it helps to duplicate this layer, Layer -> Transform -> Offset it by some amount in the X direction, set that copy to semi-transparent, and merge it with the original. The result is an image that will provide the color for the rings:
Now we need to set the transparency of the rings. Use Filters -> Render -> Clouds -> Difference Clouds... with the following settings to create a random black and white stripe pattern that is also tilable:
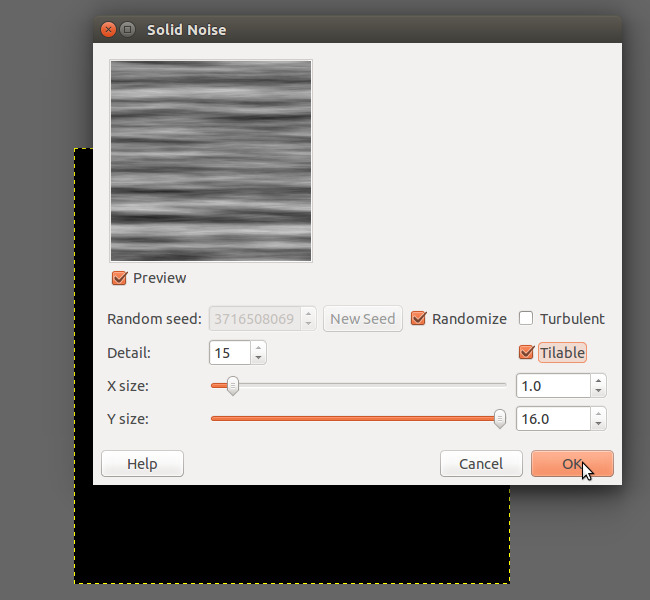
Repeat the same filter multiple times until you end up with an interesting-looking stripy pattern:
Now, use Layer -> Transparency -> Color to Alpha... (selecting white or black as the alpha color) and Layer -> Transparency -> Alpha to Selection to set the selection to either the white or black part of that layer. Select the color layer and press Delete to delete just those parts of the image. (Note: there are other ways to do this, like copying the clouds image into the layer's alpha mask.)
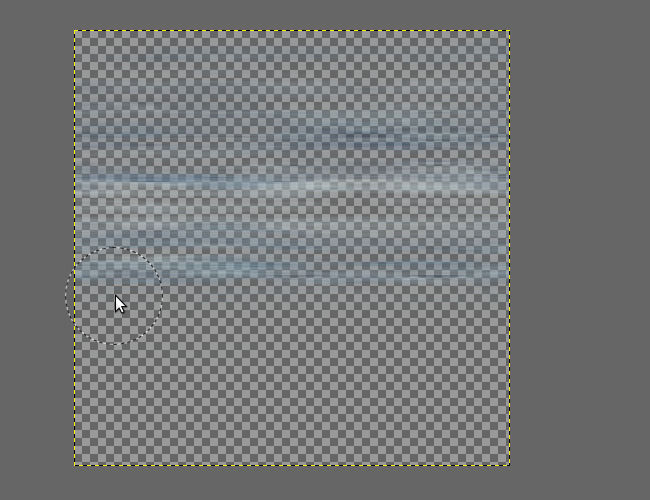
With a big blurry eraser, erase the very top of the image and most of the bottom half. (Halfway through doing the erasing, you may want to offset the image halfway in the X direction to make sure the edges still tile properly.) With a smaller eraser set to about 30% opacity, erase some "stripes" of what remains to make them more translucent than the rest:
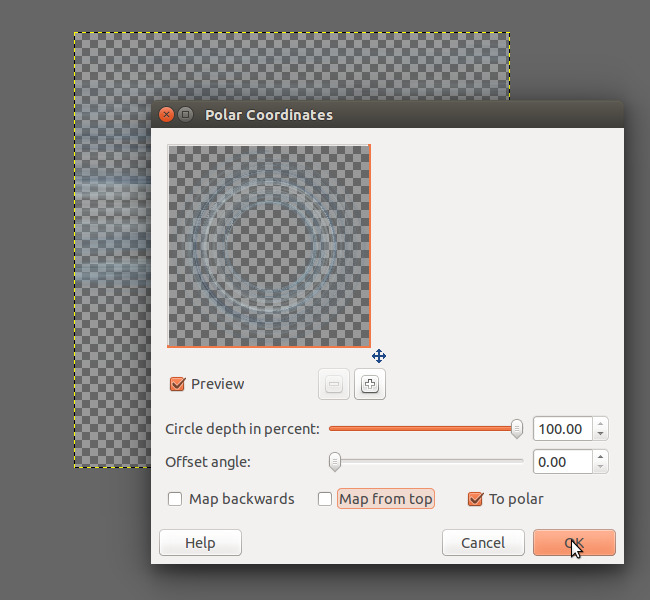
Finally, use Filter -> Distorts -> Polar Coordinates... with the following settings to convert those horizontal stripes into rings:
The resulting rings will be circular, as if looking at them from the top down, but you can resize the image to a rectangle and then rotate it to simulate rings at any other angle.