# WORK IN PROGRESS
Ink removal of Whole Slide Images by color detection
Pathology specimens frequently have significant borders that must be recognized from gross inspection to microscopic examination1. Each boundary is usually marked with a different color of tissue-marking dye (TMD) or Indian ink, which aids in both macroscopic and microscopic identification2. The following are some of the benefits of using a variety of ink colors:
- To determine the margin status of a specimen
- To determine the orientation of a specimen
- To benefit from post-grossing three-dimensional reconstruction
- To reduce identification error when multiple samples are required from the same tissue (e.g. prostate needle biopsies) or when similar specimens are obtained from different patients. Indeed, the presence or absence of ink is frequently the deciding factor in whether the margin is positive for tumor cells. In order to avoid error of interpretation, the most used colors are black, green, red, blue and yellow.

Figure 1. Examples of ink in surgical pathology specimens
A skilled pathologist can make a definitive diagnosis of a variety of illnesses by performing a careful visual investigation, which takes a long time and effort and is unavoidably prone to error. The digitalization of biopsy glass slides is required for computer-assisted diagnosis. Marker marks emerge in the digital pictures once the slides have been scanned. As a result, computer techniques may be prone to misinterpreting marker-colored areas as tissue information. The removal of regions with marker signs is beneficial since, in most situations, areas covered by marker are of lesser value (therefore overpainted by the pathologists to show something more important). As a result, removing these regions may have little impact on the tissue that is important for diagnosis. There is no standard way for deleting this data from whole slide pictures, which limits their utility in research and study. Marker ink contaminates various locations and in an uneven manner, making removal of marker ink from these high-resolution full slide pictures a difficult and time-consuming task. We present a color detection-based pipeline that produces ink-free pictures without sacrificing information or image quality. This process will then be incorporated into FolDet, a folds detection algorithm, to see how ink removal affects fold detection performance.
The dataset for this project includes twenty-one WSI with ink, H&E stained. The images were selected with the function MatchbyColor() within a larger dataset of 440 WSI, where 220 were from the “Folds” group and 220 were “Folds-free”. Within the 21 selected digital slides, ten of them were obtained from the “Folds” group and eleven of them were “Folds-free”.
Firstly, we create a list with all images’ path to loop throughout the dataset. This is achieved with os.listdir() function.
Next, MatchbyColor() function was specifically created to check for all 5 ink colour’s types: green, blue, yellow, red and black. The function takes 3 arguments: src, which correspond to the source image; lower and upper, which represent lower and upper bounds of cv2.inRange() sub-function.
A list of three RGB colors ranges was created to cover all the possible ink types of an image could have: green-blue, yellow-red, black. Each colour range has a lower and upper bound.
Once these ranges are passed to cv2.inRange() sub-function, a mask (black or background; white or foreground) of the corresponded colour is outputted and passed to cv2.countNonZero() function, where it will count how many white pixels are present in the mask. If at least one white pixel exists, then it means that cv2.inRange() founded the specific colour ink and MatchbyColor() function will output a True Boolean value, False otherwise. This output will be used by selectImageWithInk() to select the corresponding image in case of True value and save it into a new folder called 'Ink check' that will automatically create.
In this step we will use HSV colour space to extract each colour ink type from WSI.
First, we start with selecting one WSI with ink and we target one specific ink colour type, e.g. green, and we use a trackbar to choose the correct lower and upper HSV boundaries for the green ink. A trackbar was used to visually see in real-time which set of values better thresholded the corresponding ink colour.
A trackbar is a GUI element that let the user to select a specific value within a range of values by sliding a slider linearly. It limits the user to select a specific value with its minimum and maximum limits. Trackbars in OpenCV are helpful to tweak a variable value instantly without closing and relaunching the program.
The OpenCV library provides the cv2.createTrackbar() function. To read and change the current position of the trackbar slider, cv2.getTrackbarPos() and cv2.setTrackbarPos() functions were used respectively. The GUI will display 6 trackbars where will correspond to low Hue, low Saturation, low Value, upper Hue, upper Saturation, upper Value. While adjusting lower and upper boundaries, it is shown in real time how the image is being thresholded based on the HSV value. Once founded the best values, the user can save the array values and they will be printed out.
Next, each array founded with the trackbar represents a lower and upper boundary of a specific colour range, and these boundaries will be the arguments for cv2.inRange(), where the src image is in HSV mode, converted with cv2.COLOR_BGR2HSV method from OpenCV library. Here, a binary mask will be generated where white pixel represents the foreground or targeted ink, and black pixel represents the background. Next, cv2.bitwise_and() is unifying the arrays of the original image and the mask, resulting in a mask where only the thresholded ink is present, now in RGB colors. This is an important step which allows to check that only the specific ink colour was thresholded and no other regions (e.g. tissue, nuclei).
Once we confirm that each mask is correctly identifying the ink, all five masks are combined to form one unique mask that will be used to encounter the ink present in the WSI. Finally, the InkRemoval() function will use this final mask to convert the ink pixels to white, which is the background colour of the WSI. As output, an image without ink will be saved in the Ink Removed directory automatically
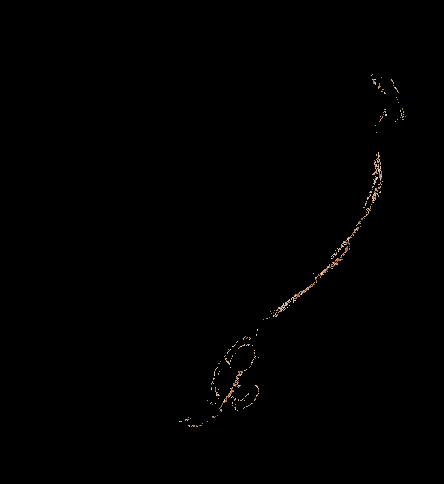
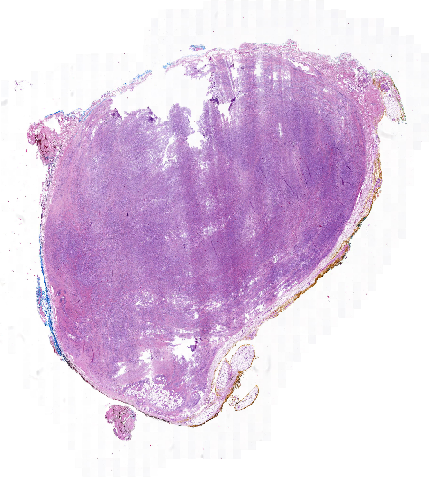
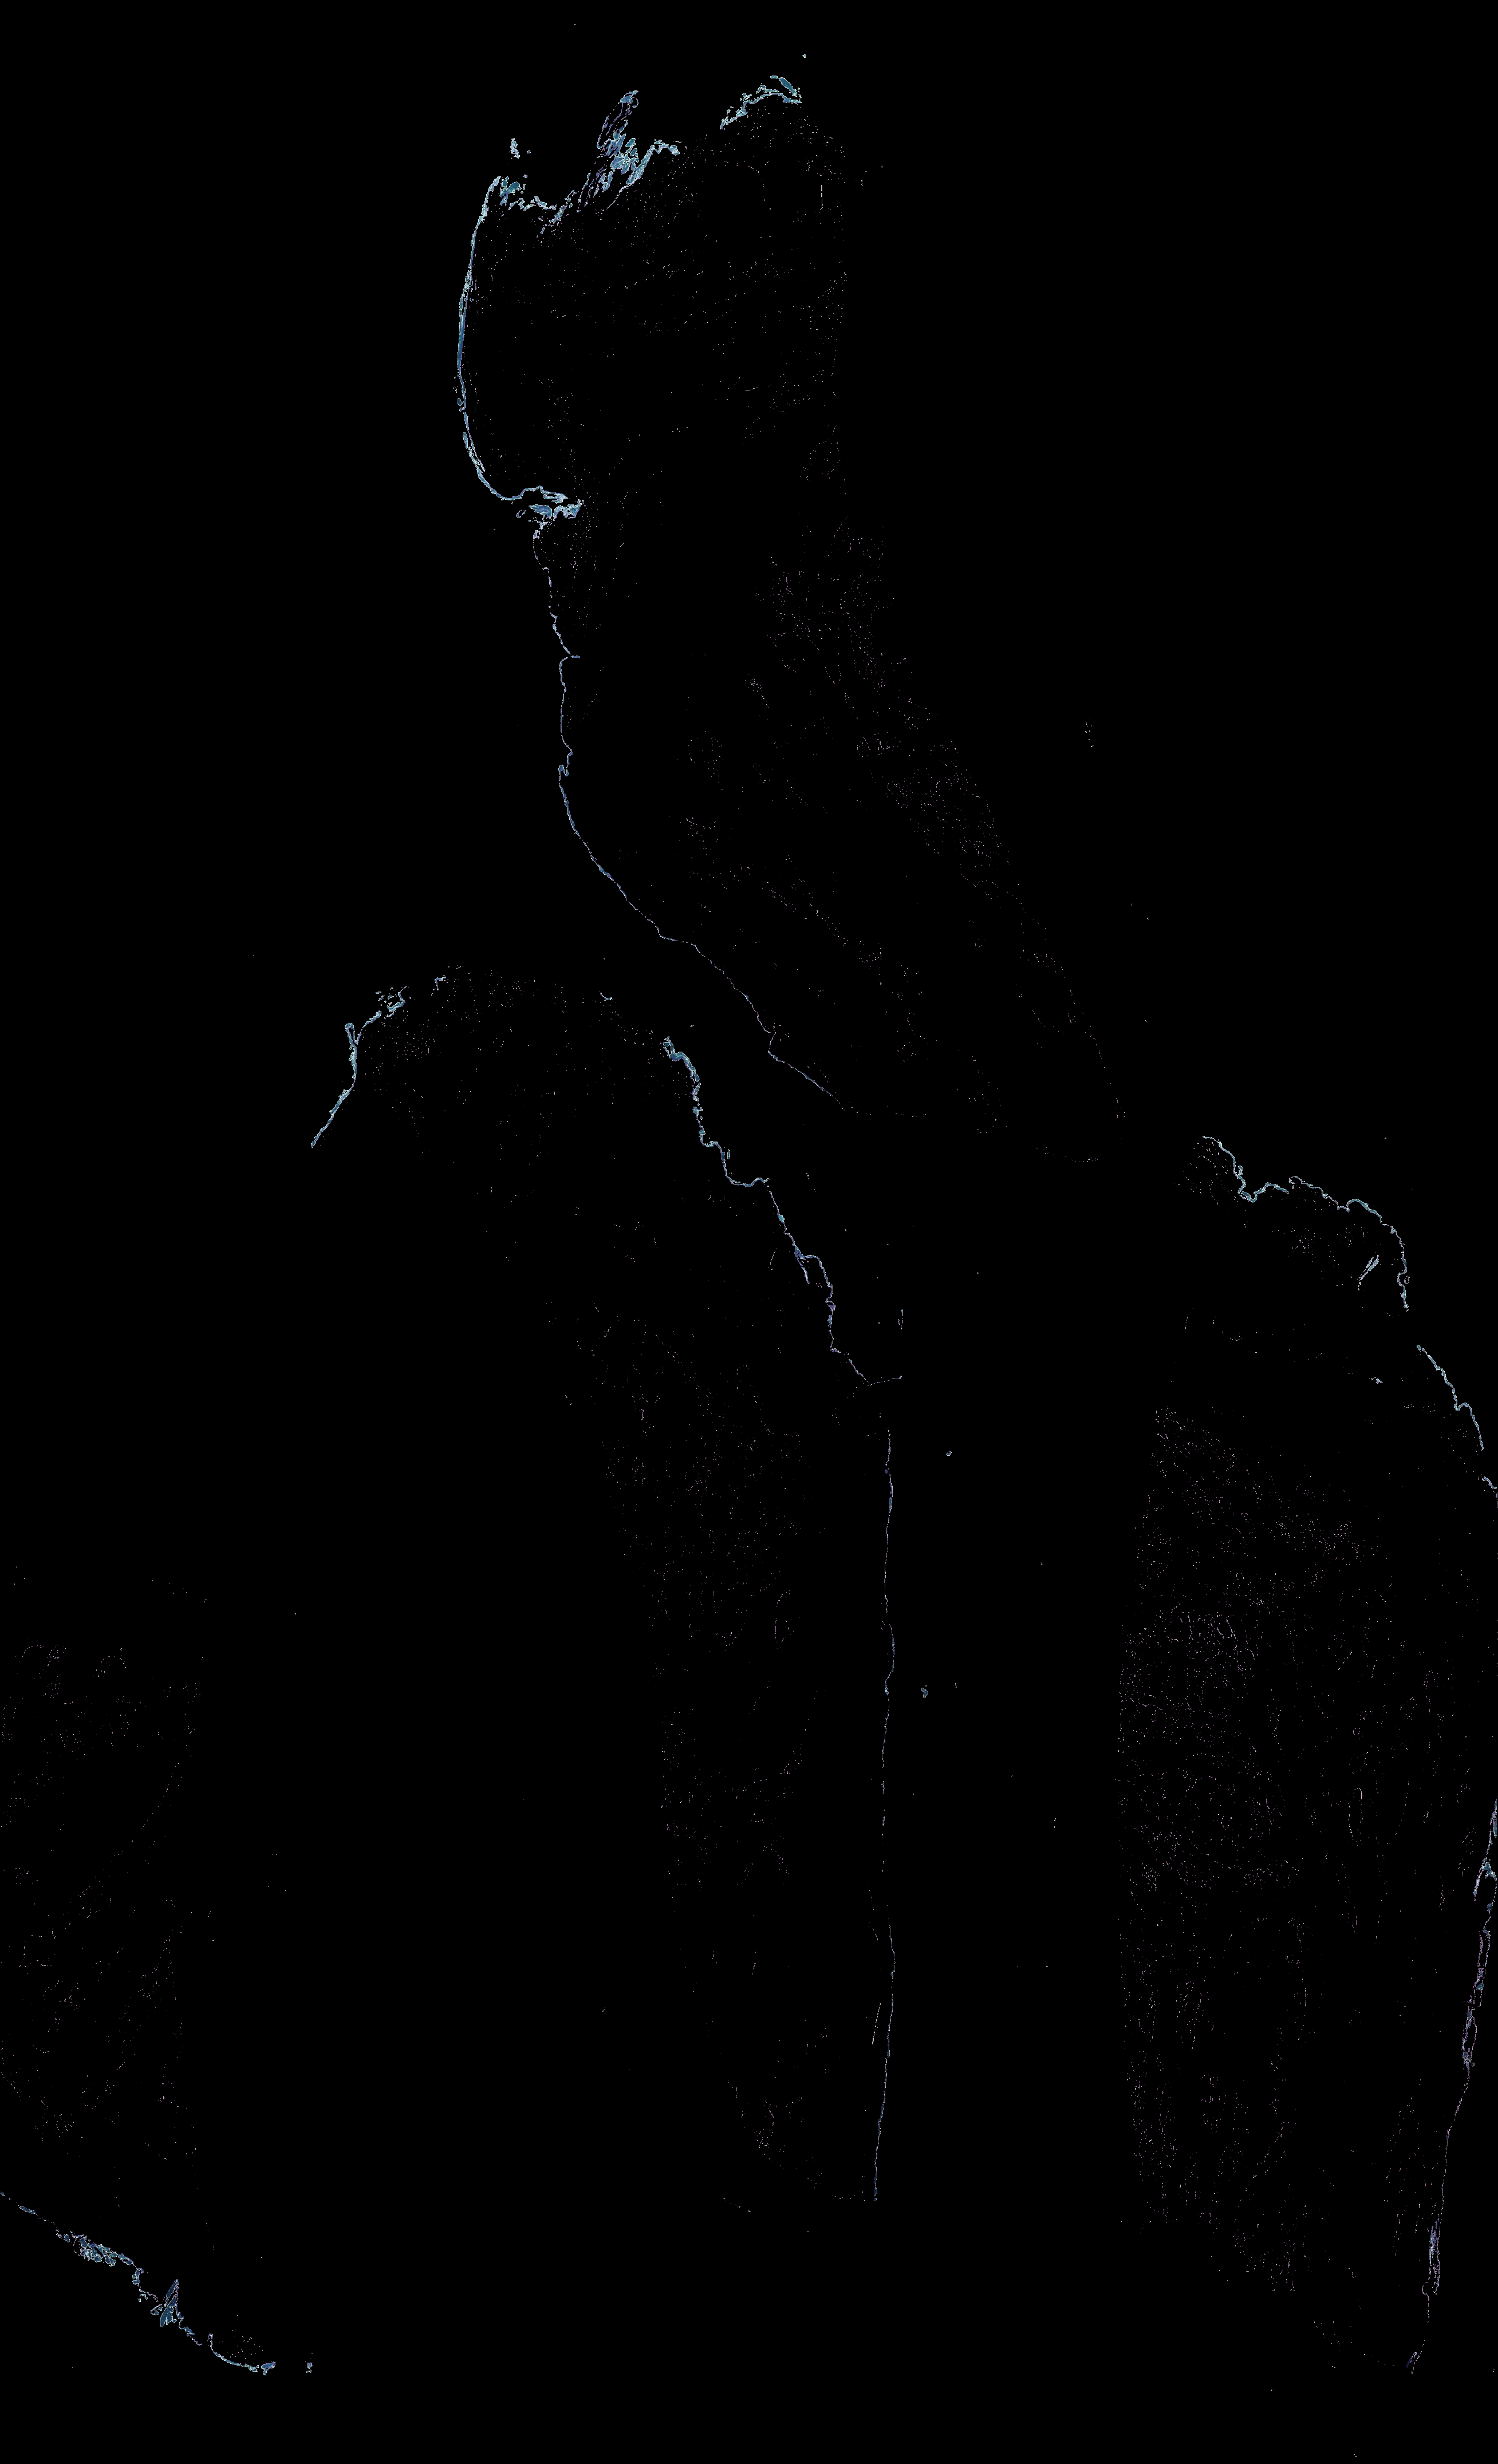

Figure 2. yellow mask