-
Notifications
You must be signed in to change notification settings - Fork 1
Installing Manually
This section covers installing Amniotic outside of Home Assistant (i.e. on a separate, dedicated machine, a desktop PC, etc.)
Any vaguely suitable device (i.e. with a network connection and audio outputs) should work, but it was primarily intended for (and developed on) a dedicated Raspberry Pi 4B. The lowest spec I've tested on is a Pi Zero W 1, which works fine but struggled playing more than one Theme at a time. And obviously you'll have better results with better audio equipment (amps, speakers, etc.), especially for lower-frequency themes.
Raspbian/Debian are best tested and covered here. But for other platforms etc., see the Other Platforms section.
To install on Raspbian, or any Debian Linux etc., first install dependencies, then the Amniotic package:
sudo apt update -y
sudo apt install -y python3-pip pulseaudio vlc
pip3 install amniotic
Once done, you should find amnitoic installed in ~/.local/bin/amniotic
You will need to add a config file at the path ~/.config/amniotic/config.yml. It's primarily for adding your MQTT
credentials. A commented example file that you can modify is config.example.yml.
This can be set in the Config File, as above, but by default it's the following path: ~/.local/share/amniotic
You should now simply be able to run ~/.local/bin/amniotic, which will connect to MQTT:
2022-05-20 15:14:51 INFO  amniotic.mqtt    : Amniotic 0.0.1 has started.
2022-05-20 15:14:51 INFO  amniotic.mqtt    : Amniotic 0.0.1 starting MQTT...
2022-05-20 15:14:51 INFO amniotic.mqtt : Attempting to connect to MQTT "homeassistant.local:1883": Connection successfulSince a dedicated Amniotic device (e.g. a Pi) functions like an appliance, you might want to install as a service, so that restarts, running on boot etc., are handled automatically.
- Ensure the current user has session lingering enabled, to allow long-running services:
loginctl enable-linger $USER. - Copy the service unit file
amniotic.serviceto~/.config/systemd/user/amniotic.service - Enable the service:
systemctl --user enable amniotic.service. The service should now start automatically on each boot. - If you want to start immediately:
systemctl --user start amniotic.service - And to stop:
systemctl --user stop amniotic.service - To view service logs:
journalctl --user --unit amniotic.service
There's also a pre-built Docker Image available, so you can run on a NAS or home server etc. To run in container, use this command to map through sound devices, audio and config files:
docker run --device /dev/snd --volume <local audio path>:/root/.local/share/amniotic --volume <local config path>:/root/.config/amniotic/ fmtr/amniotic:latestInstalling on Windows using winget will look (roughly) like this:
winget install -e --id Python.Python.3.11
winget install -e --id VideoLAN.VLC
pip3 install amniotic
Installing on macOS using brew will look (roughly) like this:
brew install python3
brew install --cask vlc
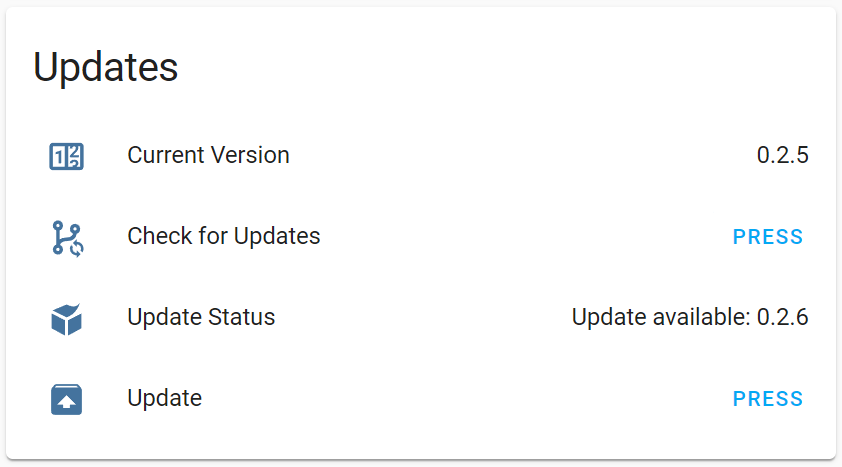
pip3 install amnioticAmniotic also exposes its updater to Home Assistant, so newer versions can be installed from there. Updating will restart automatically and the device will reappear running the latest version, so all quite seamless.

To update manually, enter:
pip install amniotic --upgrade