How to contribute
On this page, we will take you through the necessary steps to make your first contribution to the umidocs project.
The first step towards creating your first contribution is to look at
the
issues
page. This page lists the current tasks, enhancements, and bugs for the
project. They’re kind of like email—except they can be shared and
discussed with the rest of your team. Most software projects have a bug
tracker of some kind. GitHub’s tracker is called Issues, and has its own
section in every repository. 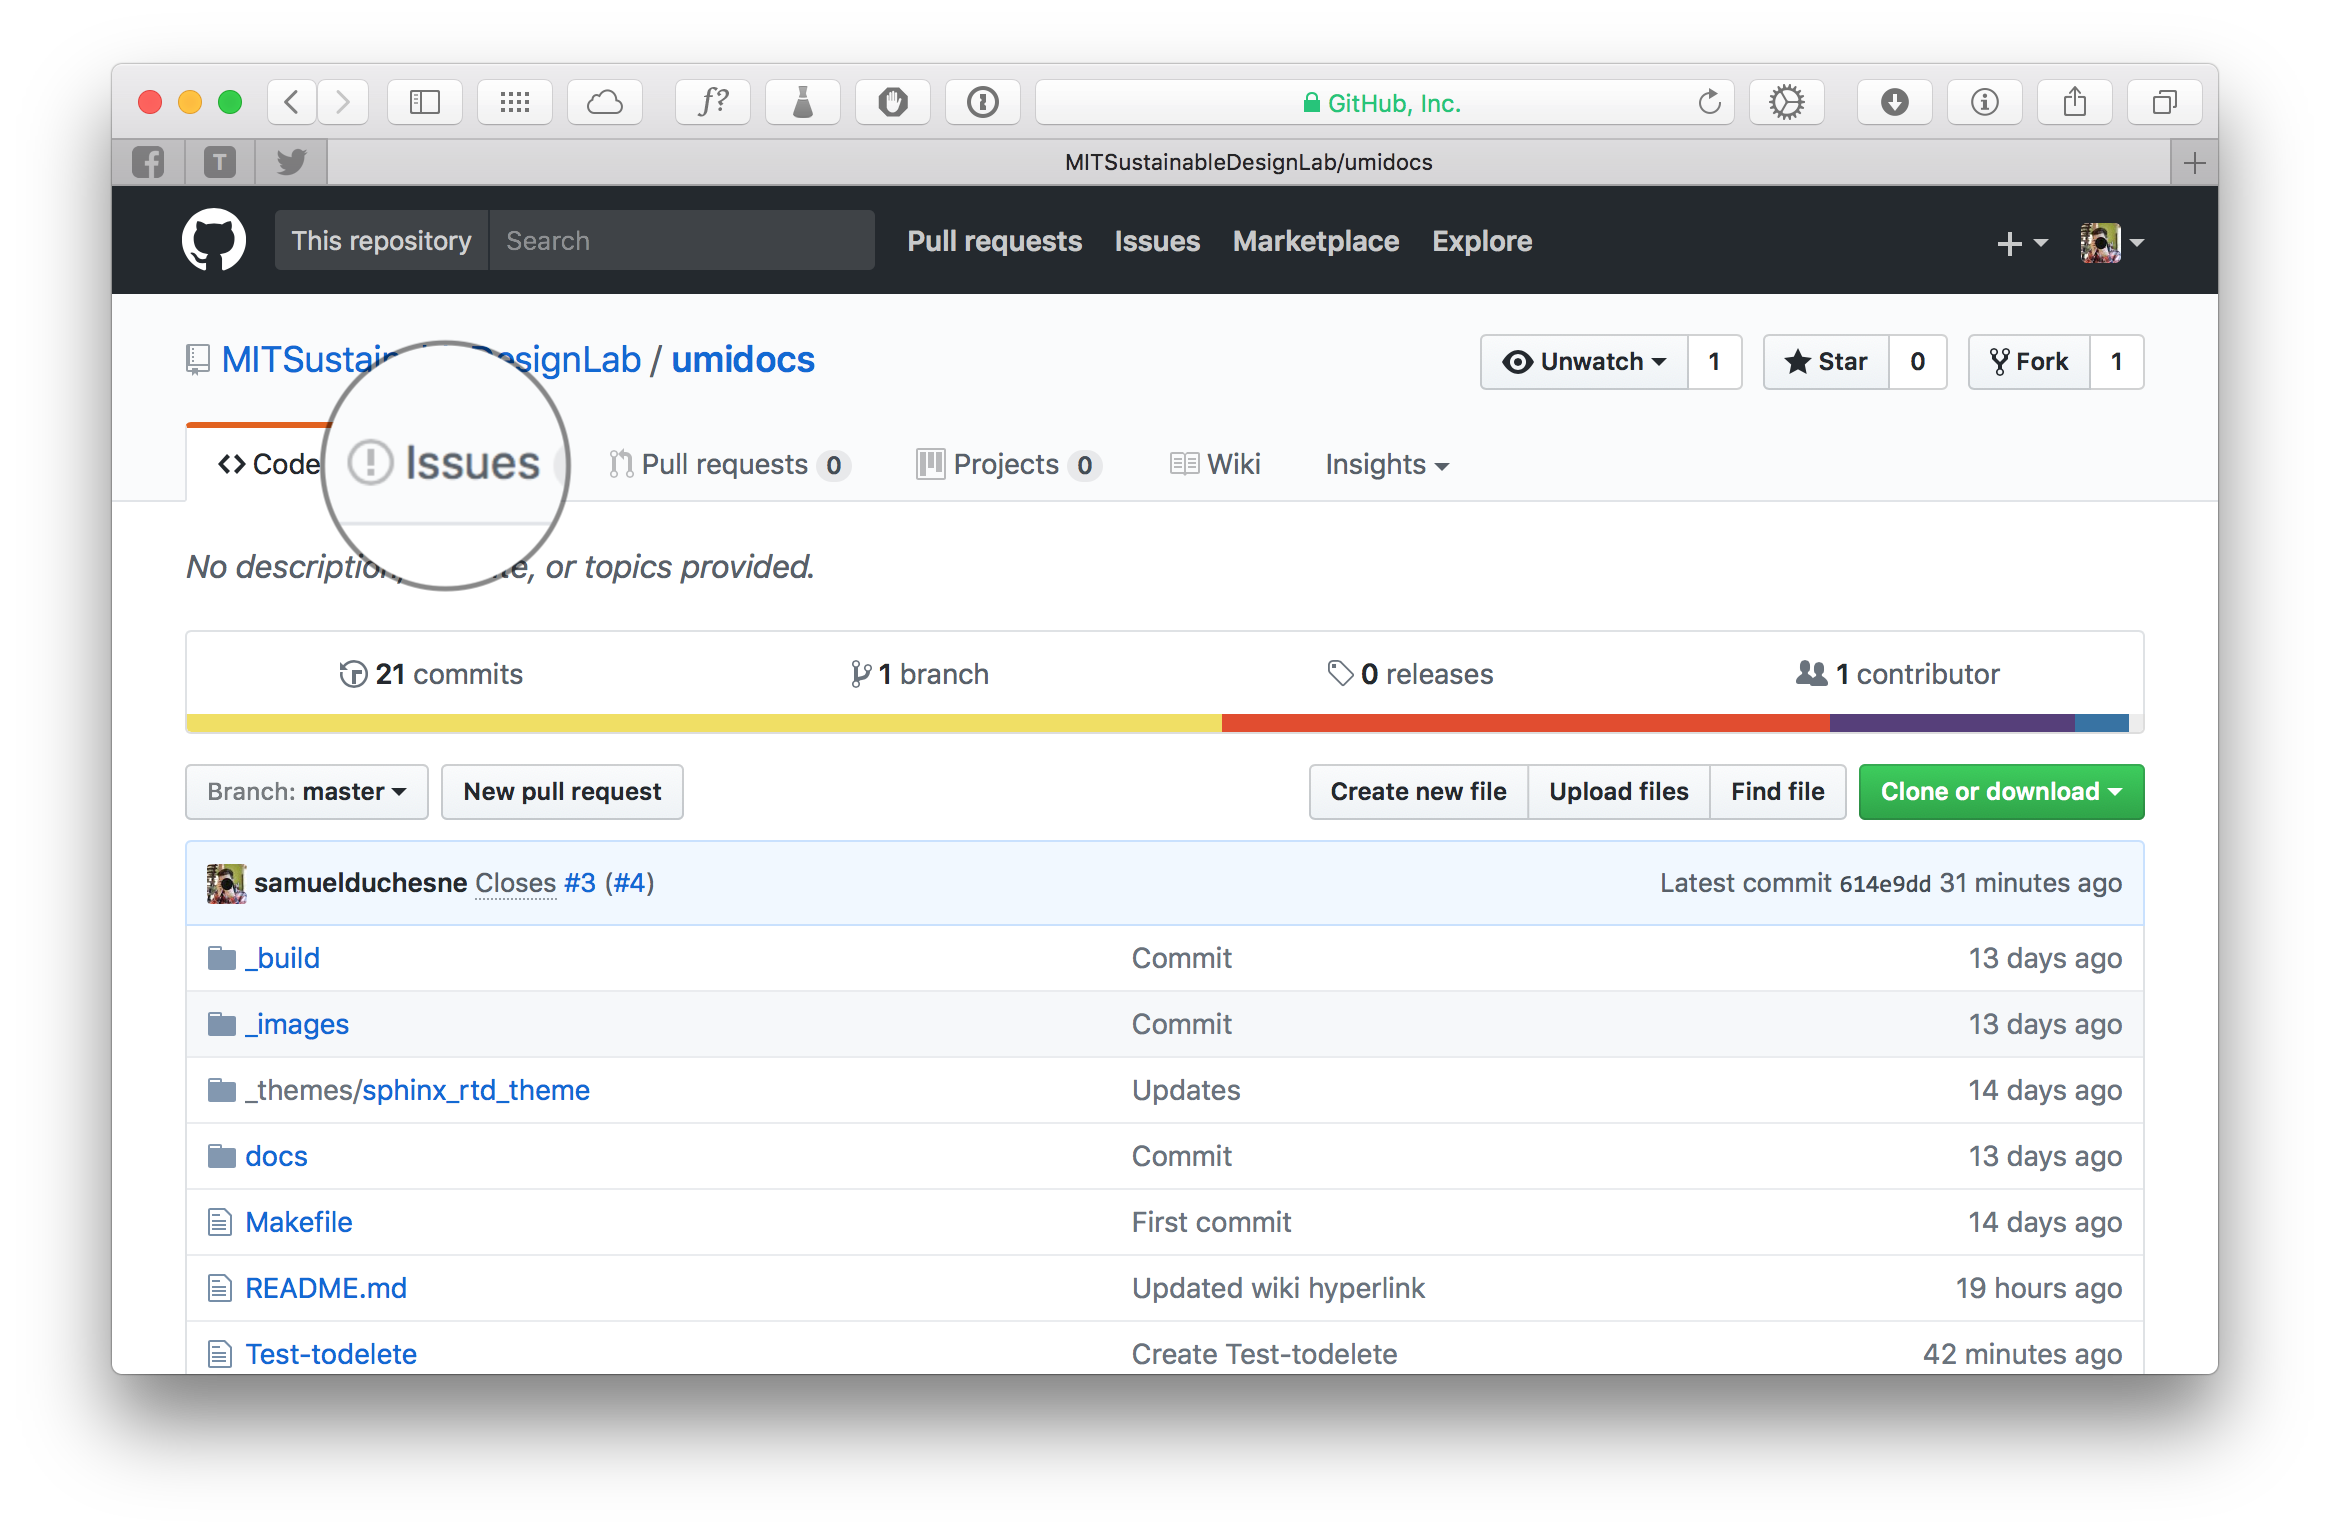 Here, you can decide to start
working on an issue. Maybe an issue was assigned to you? You can now
work your magic and start contributing to the documentation.
Here, you can decide to start
working on an issue. Maybe an issue was assigned to you? You can now
work your magic and start contributing to the documentation.
- To do so, the workflow works a little bit like this:
-
- Select or create an issue you want to work on and then take note of the issue's name and number (e.g. issue#2).
- Clone the project on your computer. You only have to do this once.
-
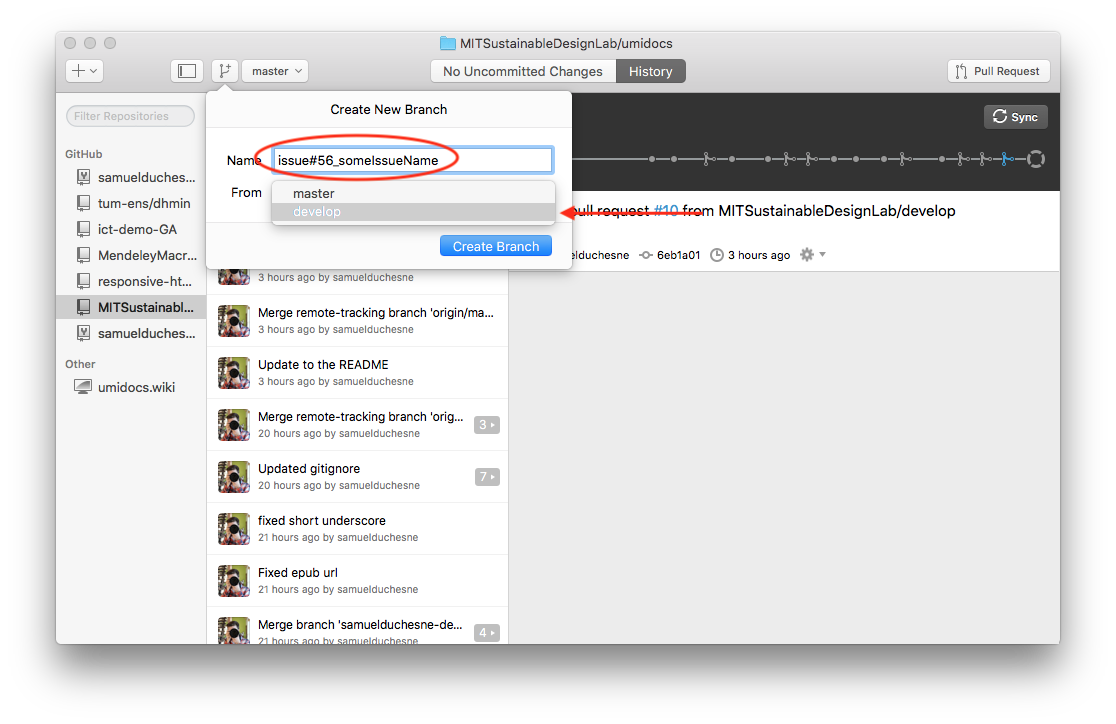
Make a new branch starting from the
developbranch. Call this branch something likeissue17_someInfo, that is, use the issue number and a brief description of the revised feature. - Modify the code.
- Document your changes on the issue tracker and implement them on the branch.
- Once you are satisfied with your code, create a *pull request* to the
developbranch, which will have the owners of the project review your code. - If your changes pass the test, your branch will be merged to the master branch, and updates to the public website will be reflected.
section inspired by https://guides.github.com/features/issues/
Here, just a little bit of info about issues. GitHub’s issue tracking is
special because of its focus on collaboration, references, and excellent
text formatting. A typical issue on GitHub looks a bit like this:
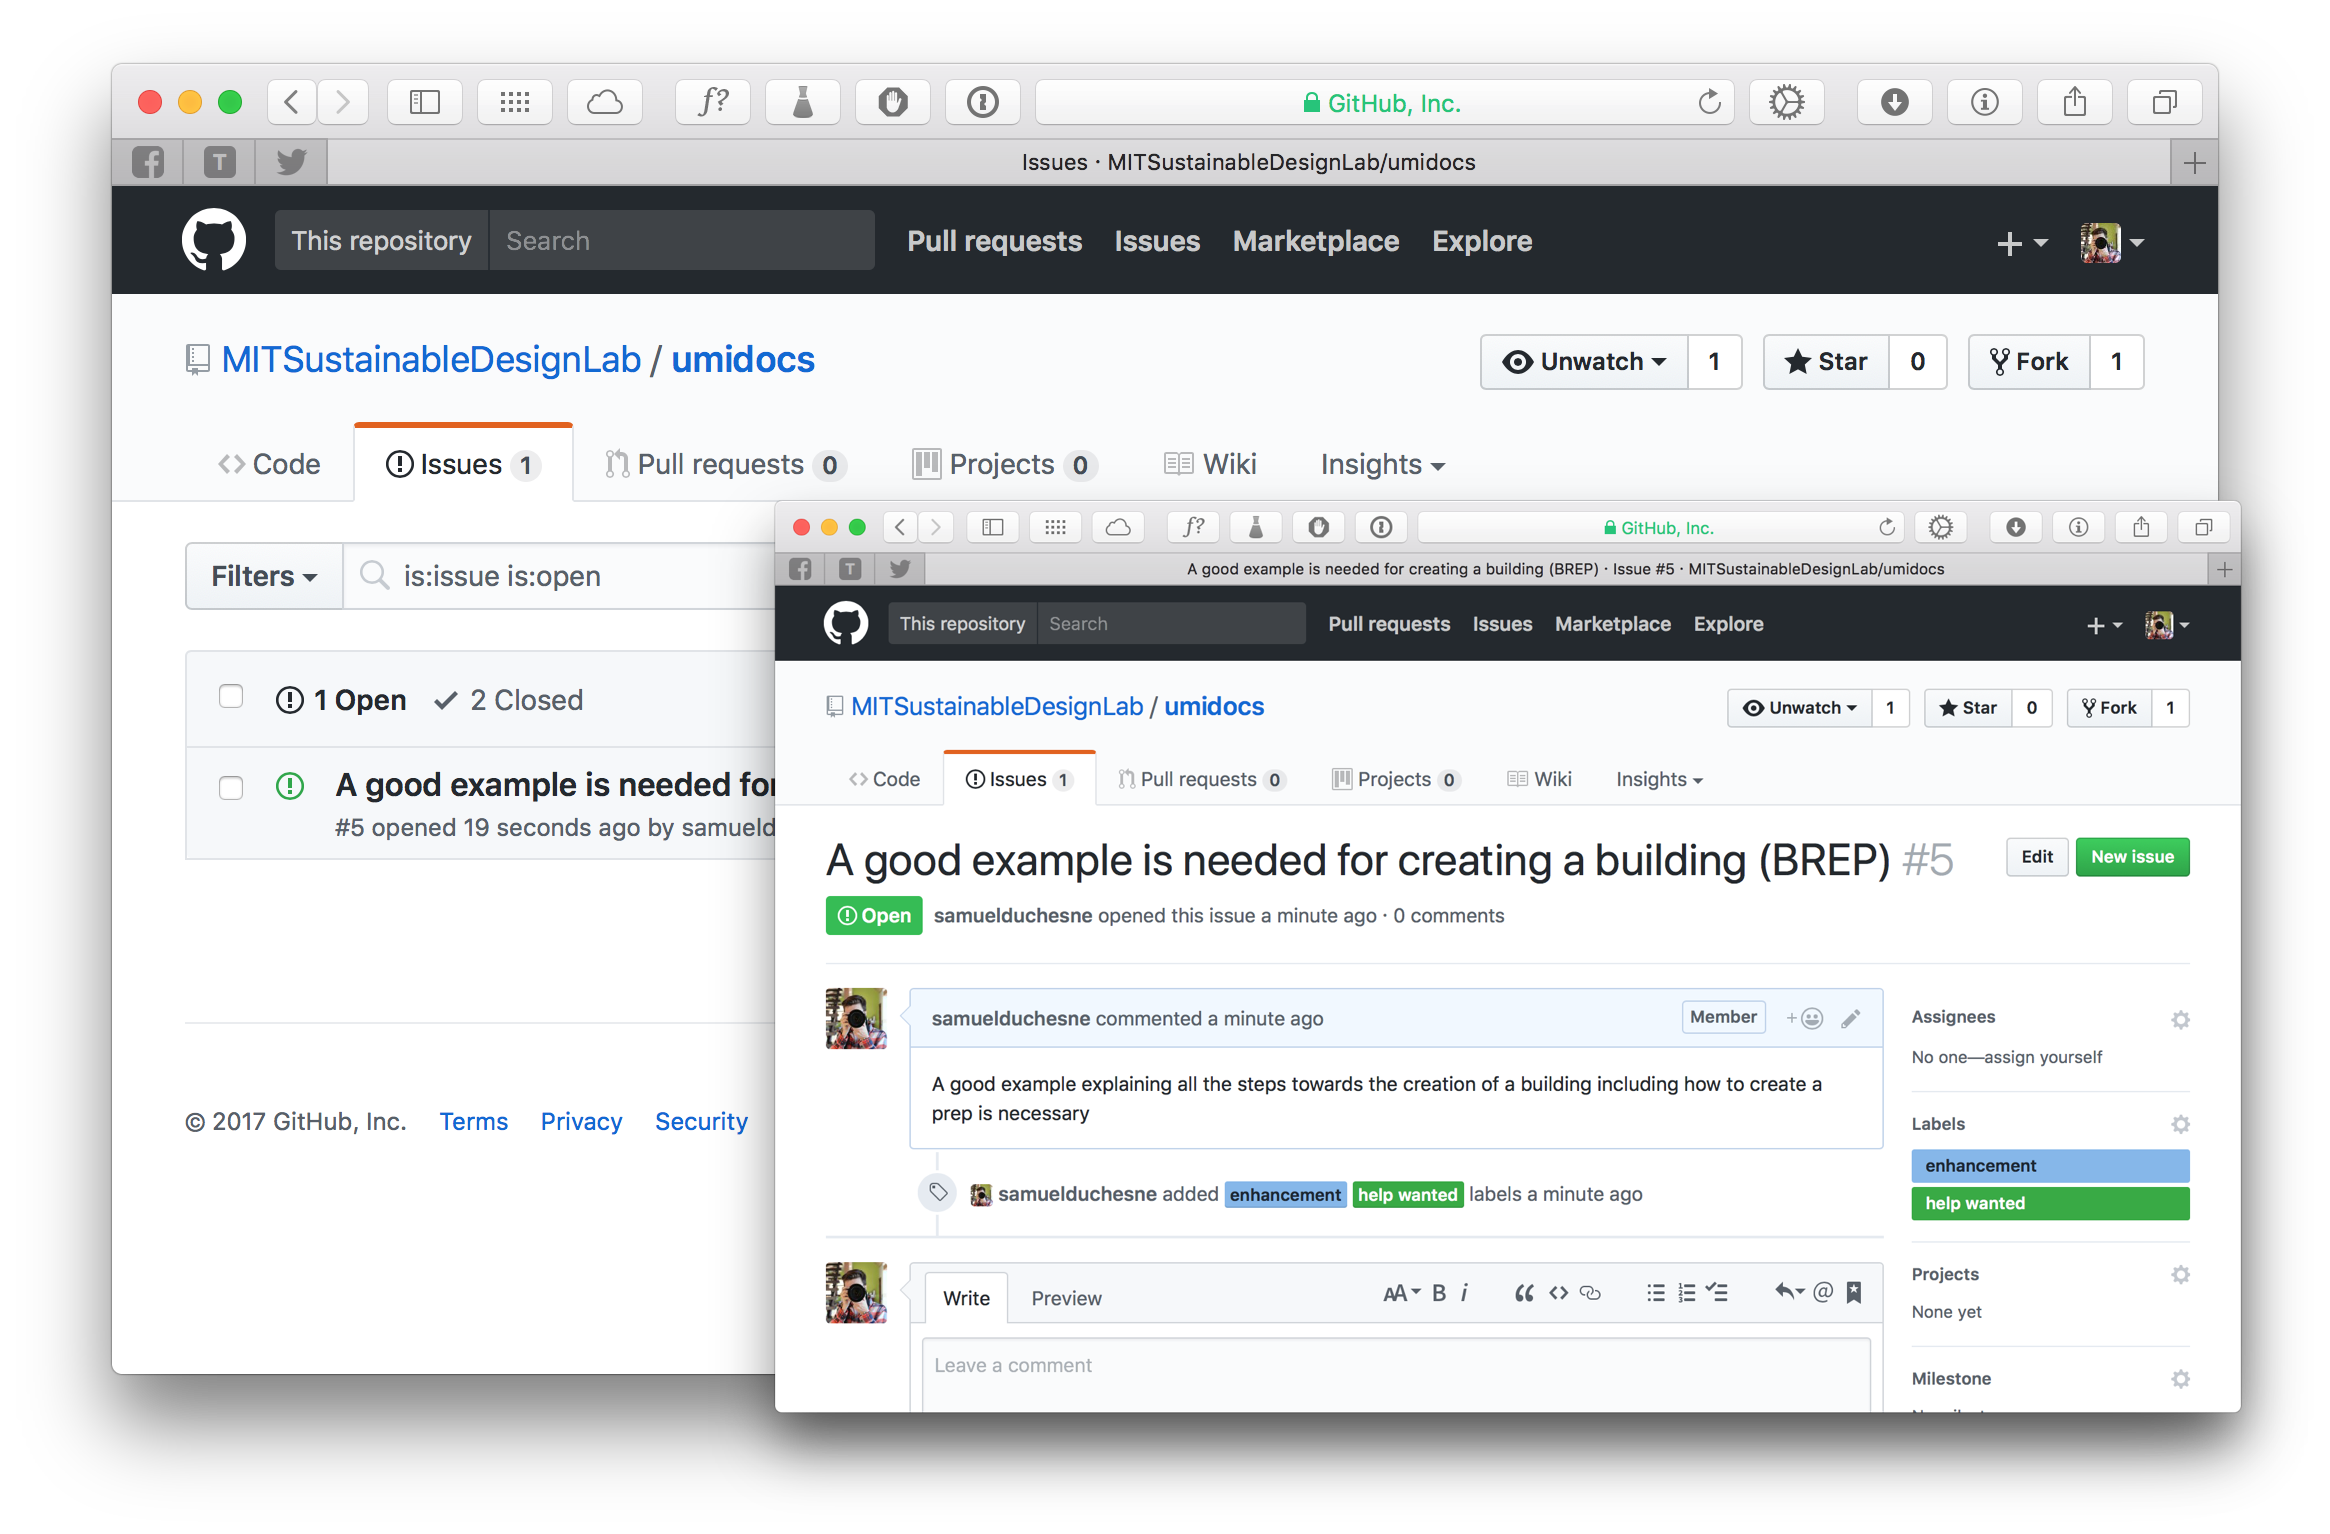 * A title and description describe what the issue is all
about. * Color-coded labels help you categorize and filter your issues
(just like labels in email). * A milestone acts like a container for
issues. This is useful for associating issues with specific features or
project phases (e.g. Weekly Sprint 9/5-9/16 or Shipping 1.0). * One
assignee is responsible for working on the issue at any given time. *
Comments allow anyone with access to the repository to provide feedback.
* A title and description describe what the issue is all
about. * Color-coded labels help you categorize and filter your issues
(just like labels in email). * A milestone acts like a container for
issues. This is useful for associating issues with specific features or
project phases (e.g. Weekly Sprint 9/5-9/16 or Shipping 1.0). * One
assignee is responsible for working on the issue at any given time. *
Comments allow anyone with access to the repository to provide feedback.
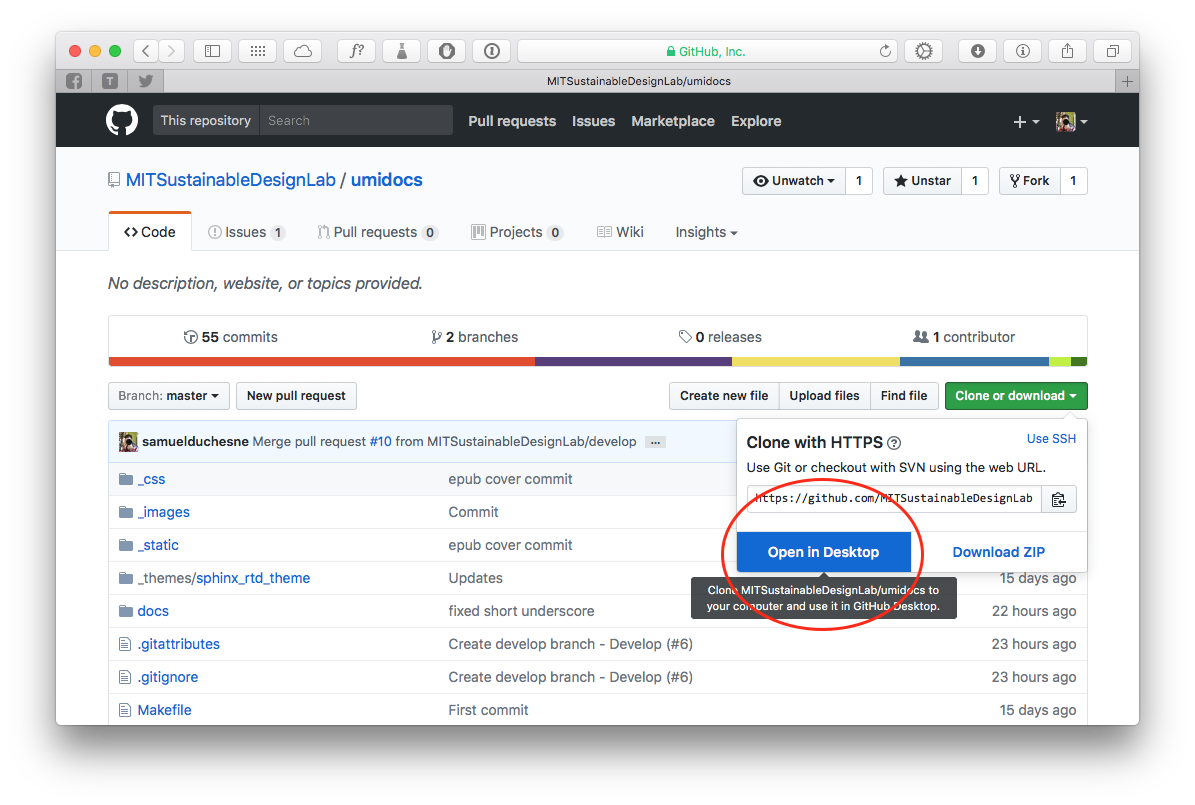 If you’re using GitHub for
Desktop application, this process is a
breeze. On the project website of umidocs, located at
github.com/MITSustainableDesignLab/umidocs,
navigate over to the bottom of the right hand side bar and click Clone
in Desktop. Once we click this, it’ll ask us if we want to launch our
desktop application to clone the repository, and where we want to save
it. Pick a location on your computer that you feel comfortable with
creating files and folders. Once you have a clone of your project,
you'll want to make a new branch before you make
any changes to the code.
If you’re using GitHub for
Desktop application, this process is a
breeze. On the project website of umidocs, located at
github.com/MITSustainableDesignLab/umidocs,
navigate over to the bottom of the right hand side bar and click Clone
in Desktop. Once we click this, it’ll ask us if we want to launch our
desktop application to clone the repository, and where we want to save
it. Pick a location on your computer that you feel comfortable with
creating files and folders. Once you have a clone of your project,
you'll want to make a new branch before you make
any changes to the code.
It is recommended to work with Github for Desktop or any other git-enabled handler such as GitKraken (free for students). To download the desktop application, head over to https://desktop.github.com (free for everyone).
section inspired by https://guides.github.com/introduction/flow/
When you're working on a project, you're going to have a bunch of different features or ideas in progress at any given time – some of which are ready to go, and others which are not. Branching exists to help you manage this workflow.
When you create a branch in your project, you're creating an environment where you can try out new ideas. Changes you make on a branch don't affect the develop branch, so you're free to experiment and commit changes, safe in the knowledge that your branch won't be merged until it's ready to be reviewed by someone you're collaborating with.
Before making any changes to the files, create a branch from the
develop branch and give it the issue name and number as well as any
other information you feel is necessary to easily identify the branch.
Go ahead and make a few changes to the project using your favorite text editor, like Atom. We really recommend Atom. See why.
For this online documentation, if you are creating a simple page, you
can use the Markdown syntax to help create beautiful documents without
having extensive coding capabilities. Head over to Mastering
Markdown to
learn a little bit about this styling framework and make sure to
download and keep this
cheatsheet
within reach: 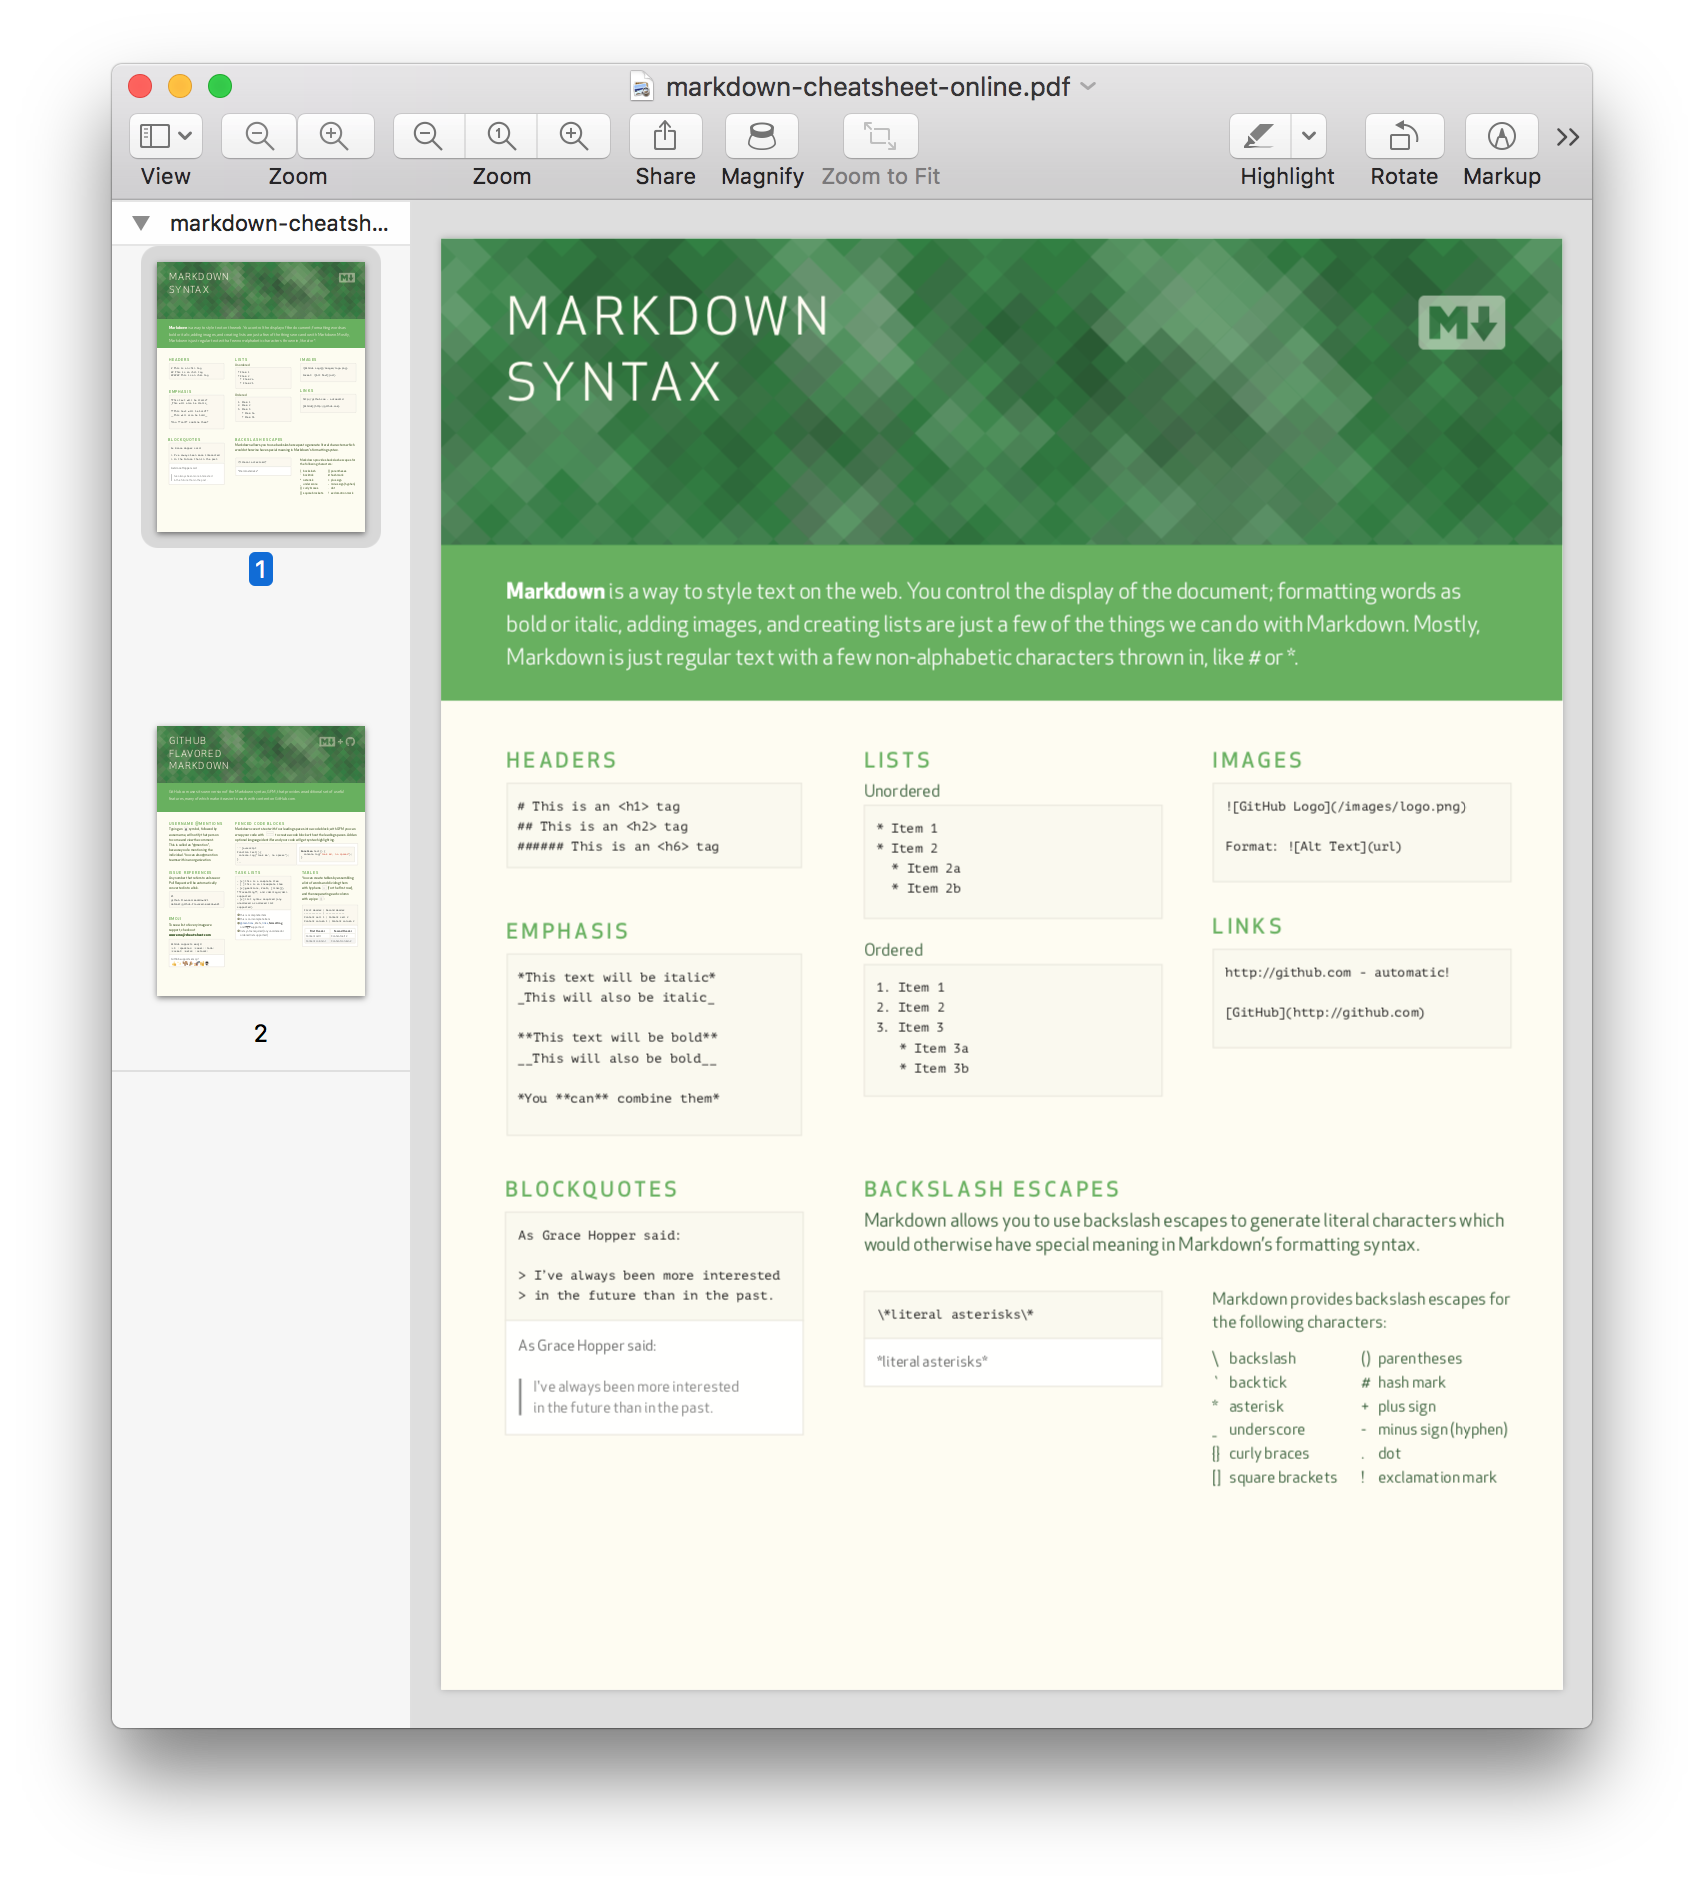 !Attention! Using Markdown is not recommended
to create complex online documentation. We will want to use
reStructuredText
instead. The learning curve is a little bit steeper, but it allows much
more flexibility. To convince you, head over to this
post.
!Attention! Using Markdown is not recommended
to create complex online documentation. We will want to use
reStructuredText
instead. The learning curve is a little bit steeper, but it allows much
more flexibility. To convince you, head over to this
post.
Note
For more detail on how to write specific sections of the documentation, head over to the Contribution Guidelines.
When you’re ready to submit your changes, type up a commit summary in
GitHub for Desktop, and click Commit. 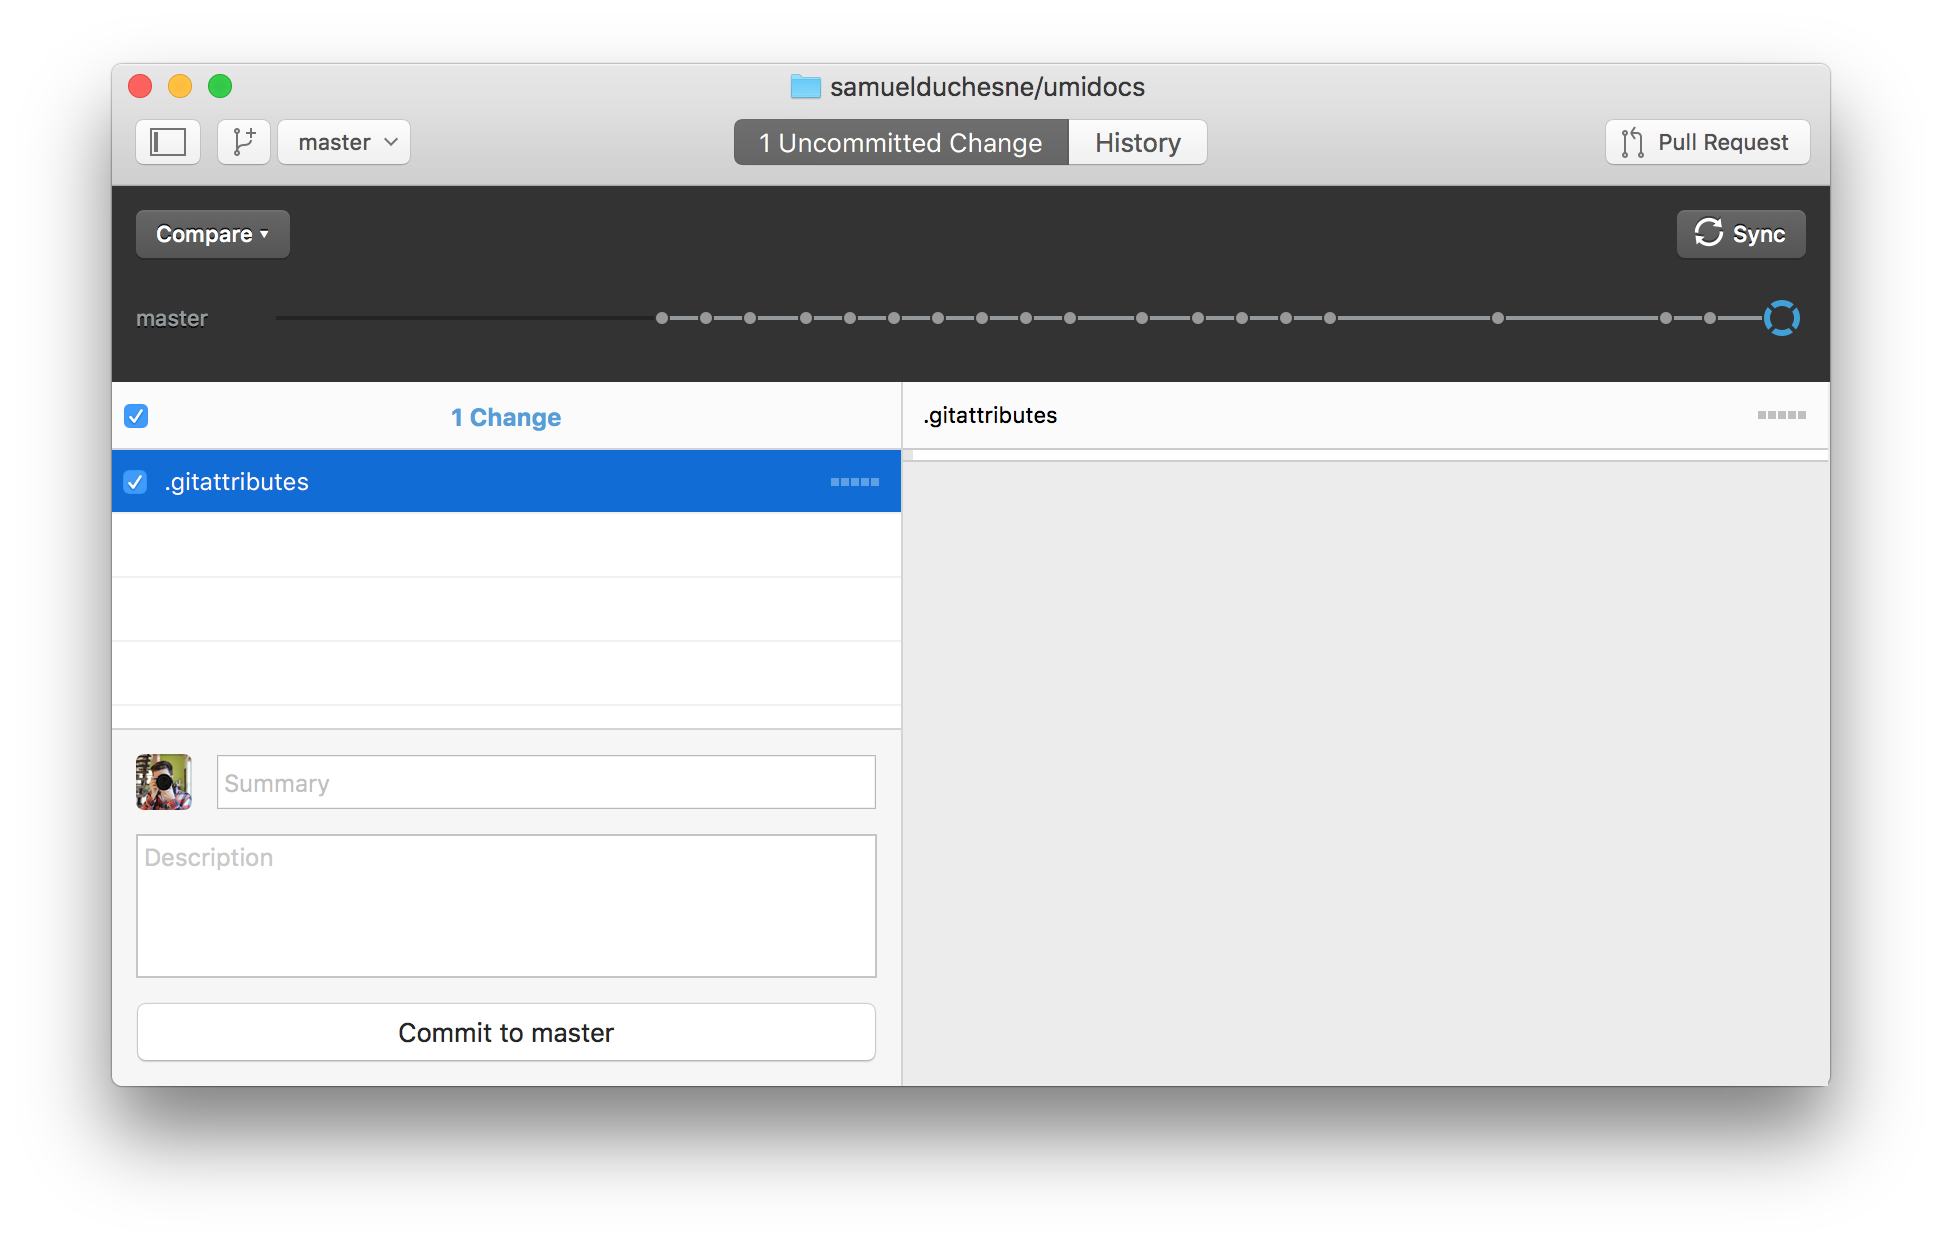 This step will commit the
changes to your local branch but not affect yet the main project. To
submit your changes, create a *pull
request* to the remote
This step will commit the
changes to your local branch but not affect yet the main project. To
submit your changes, create a *pull
request* to the remote develop branch.
Document your changes on the issue tracker on github.com
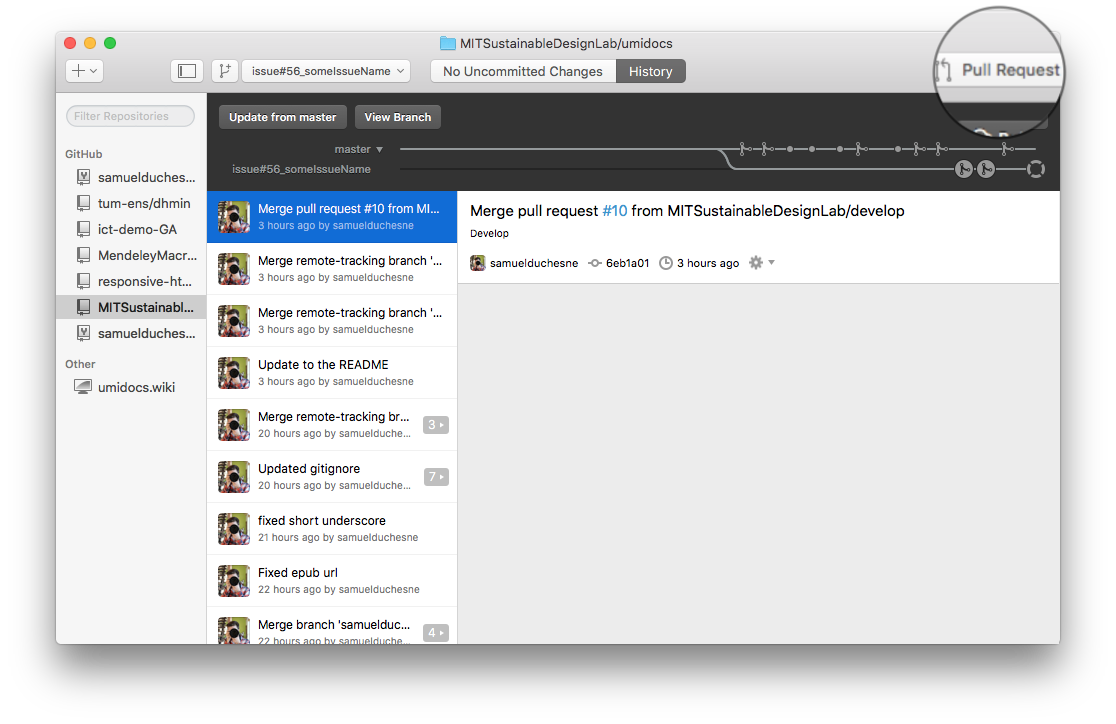 At last, you’re ready to propose changes into the main project!
To do so, inside the GitHub for Desktop app, click on Pull Request.
Make sure the resquest is issued towards the develop branch and not
the master branch. Enter a title and description. It’s important to
provide as much useful information and a rationale for why you’re making
this Pull Request in the first place. The project owner needs to be able
to determine whether your change is as useful to everyone as you think
it is. 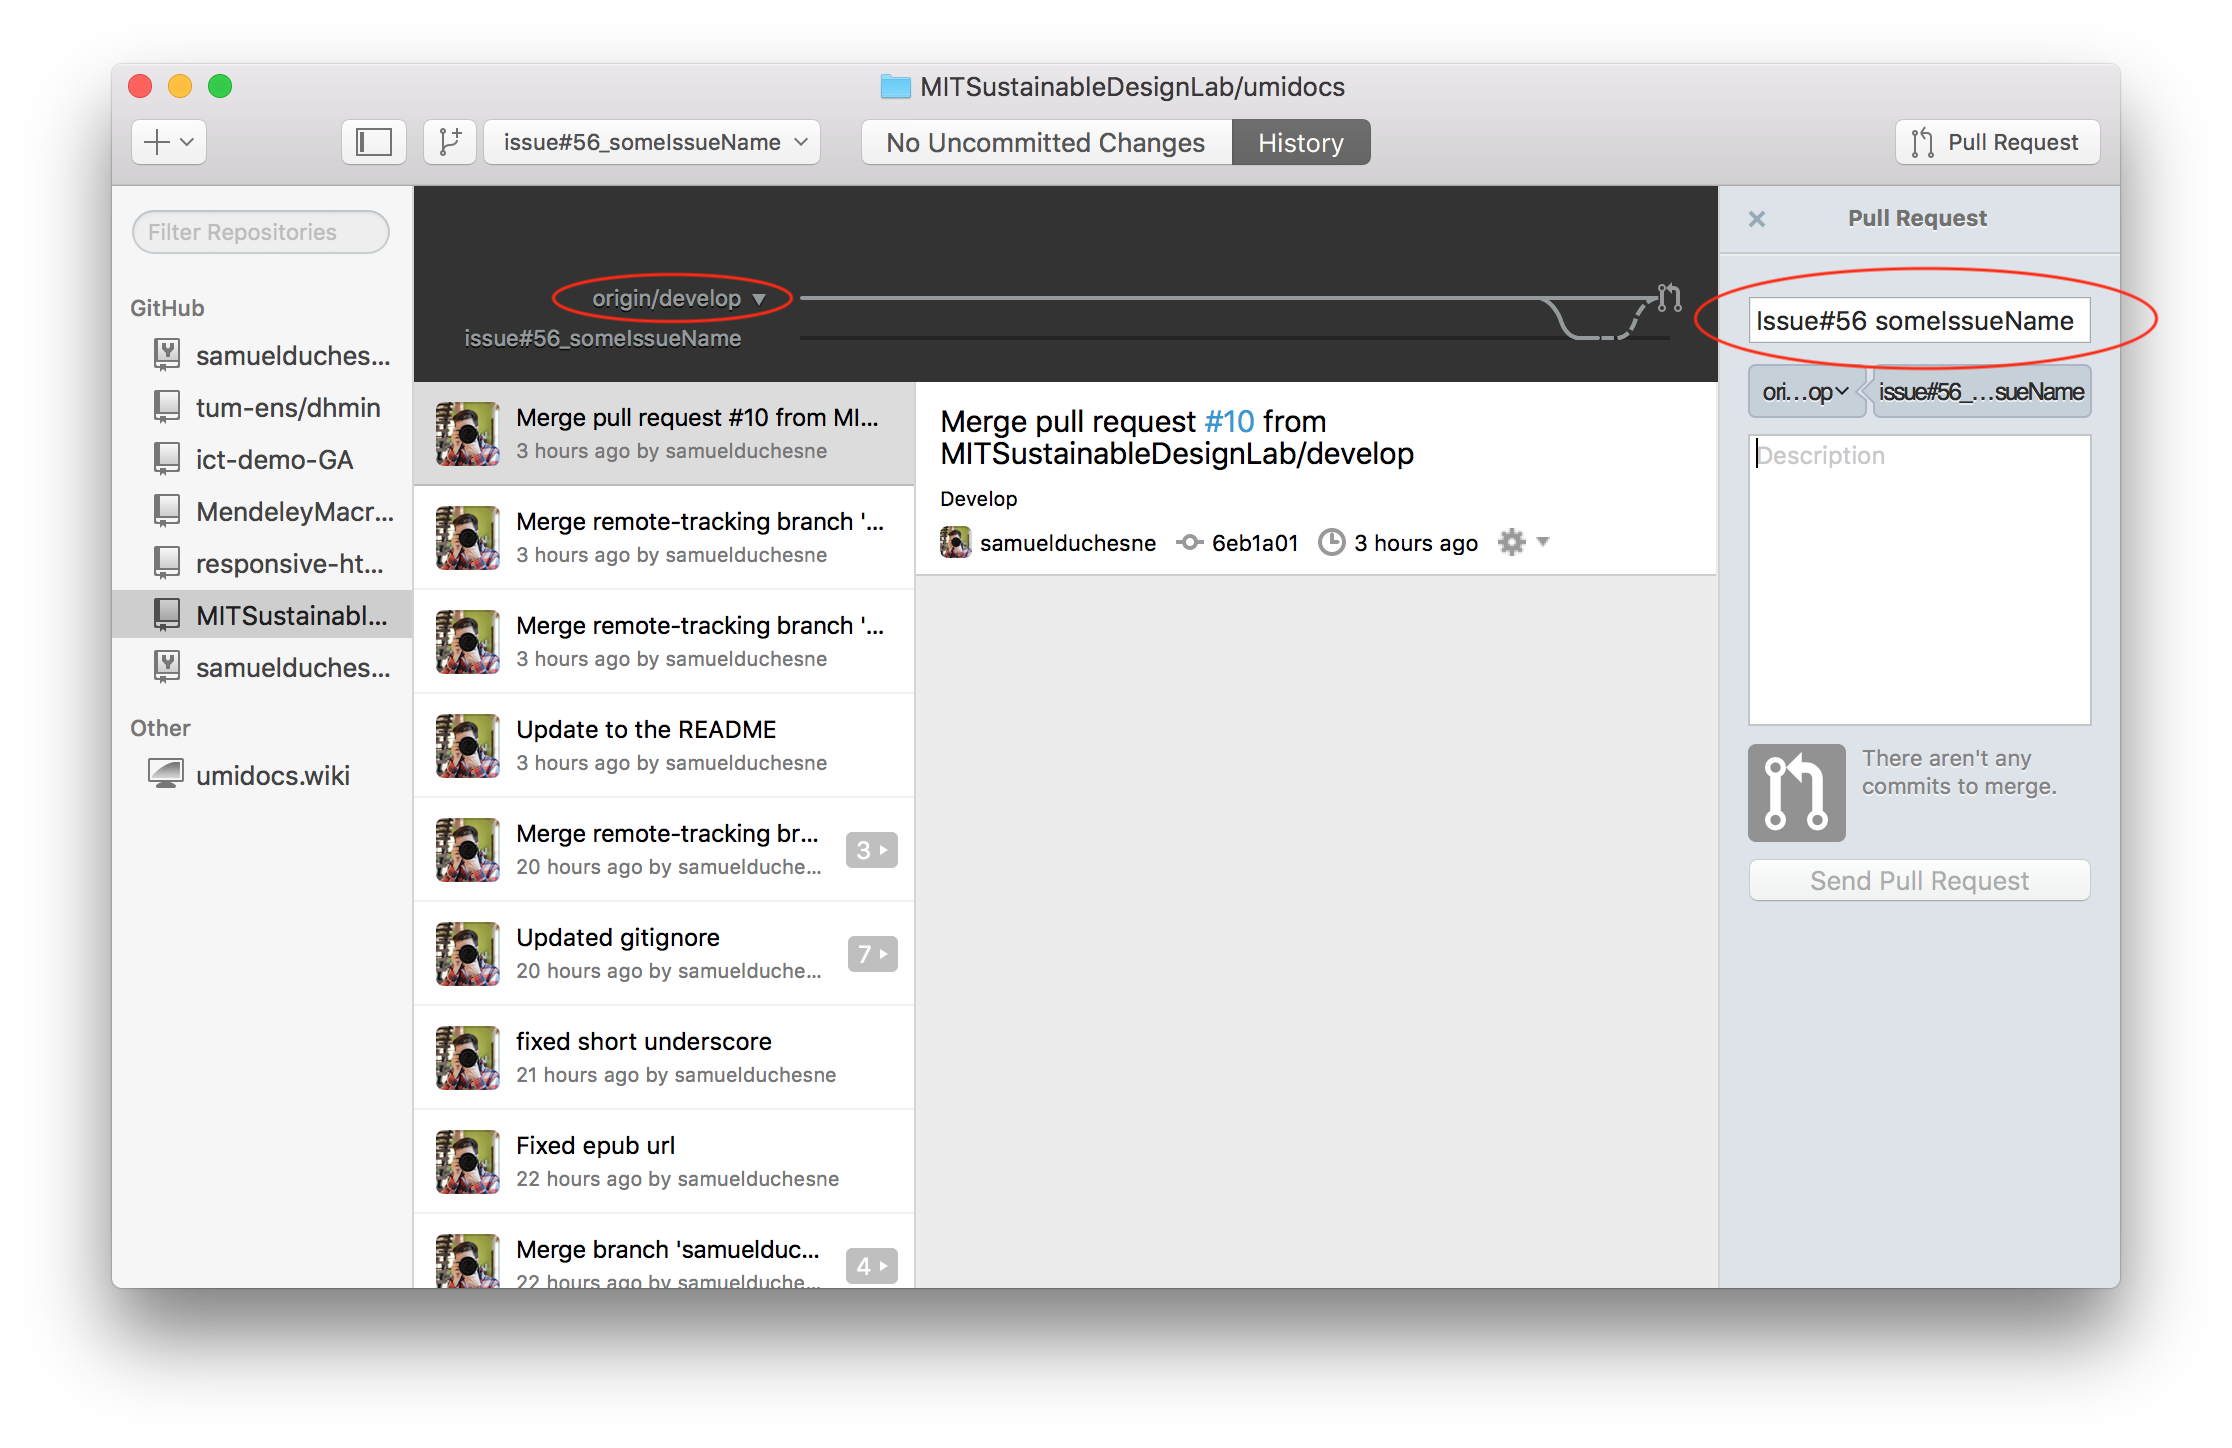 When you’re ready typing out your heartfelt argument,
click on Send pull request. You’re done!
When you’re ready typing out your heartfelt argument,
click on Send pull request. You’re done!
For many projects, don’t be offended if the project owner rejects your Pull Request, or asks for more information on why it’s been made. It may even be that the project owner chooses not to merge your pull request, and that’s totally okay. Your copy will exist in infamy on the Internet. And who knows–maybe someone you’ve never met will find your changes much more valuable than the original project. Share and share alike!
