-
Notifications
You must be signed in to change notification settings - Fork 9
Installing Incuvers V1.9 or later
A big part of the changes in the Incuvers software version 1.9 is that a lot of hardware-specific information is stored in the EEPROM in a way which the user can't change from the incubator UI. This was done in order to make using, updating, and hacking the incubator easier (in the past, if you had customized any parts of your setup and wanted to install the latest firmware, you'd need to replicate any pin changes in the source before uploading the new sketch, for instance). At the same time, these changes make the incubator easier to use as, even if you want to perform a different experiment, you can easily reconfigure the settings for your given hardware without the risk of changing associations which would negatively affect the incubator's ability to function.
The downside is that installing this version of the firmware on the incubator is slightly more involved however this guide will give you the step-by-step instructions on how to do so. This process will need to be performed any time there are changes to your incubator hardware such as the addition or removal of a sensor, the replacement of a sensor, etc. This process will have already been performed on all pre-assembled hardware purchased from Incuvers.
- Obtain the IncuversHardwareDefinitionWriter sketch from the Support part of the Arduino Sketches source tree.
- Open the IncuversHardwareDefinitionWriter sketch in the Arduino IDE and edit the relevant section starting around line 80. In the following example, we have installed an O2 sensor using pins 10 and 9 on the incubator with the serial number 99.
 // Hardware serial number
 hardwareDefinition.serial=99;               // Serial number as printed inside the top cover
 ...
 // CO2 sensor
 hardwareDefinition.hasCO2Sensor=true;       // Is there a CO2 sensor present?
 hardwareDefinition.CO2RxPin=2;              // Default: 2
 hardwareDefinition.CO2TxPin=3;              // Default: 3
 // Oxygen sensor
 hardwareDefinition.hasO2Sensor=true;        // Is there an O2 sensor present?
 hardwareDefinition.O2RxPin=10;              //
 hardwareDefinition.O2TxPin=9;               //
 ...
- Connect your incubator to your computer with a USB cable and upload the sketch to the incubator.
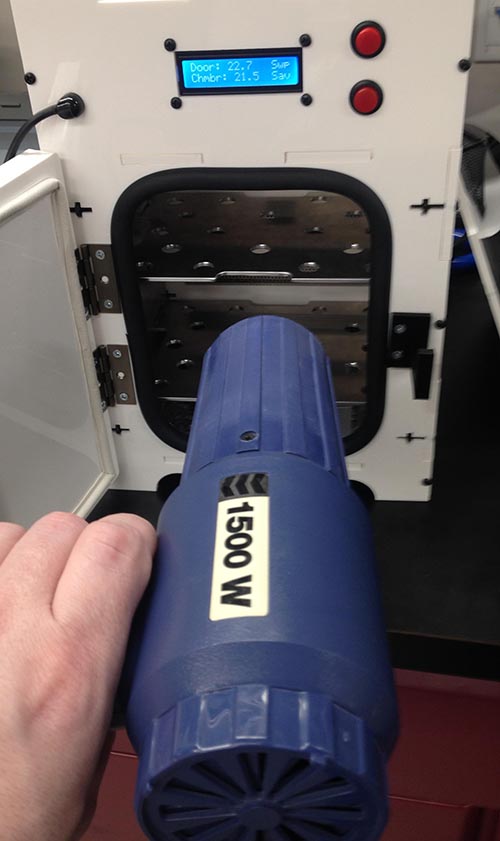
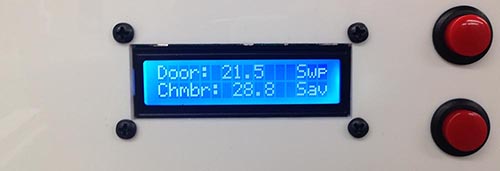
- When the incubator starts up, it will detect the temperature sensors present and randomly assign them to the door and chamber slots. Open the door on the incubator and aim a hot air gun inside. Verify that one of the temperatures displayed increases. If the incorrect temperature is displayed as increasing press the 'Swp' or upper button. When the indicated chamber temperature increases with the application of the heat gun, press the 'Sav' or lower button.
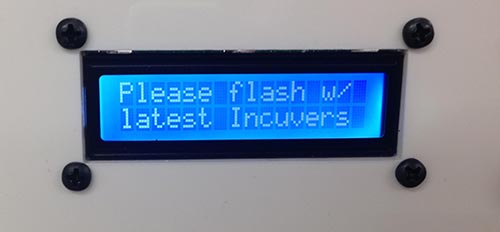
- Once the save has been completed, you will be prompted to install the Incuvers firmware, in order to do so please download the latest firmware (1.9 at the time of writing) from the Main part of the Arduino Sketches source tree and upload it to the incubator.


