KNIME Workflow – Isotropic Reconstruction (Retina)
This page helps you getting started with the KNIME workflow for the isotropic reconstruction of retina data.
The workflow consists of the parts Read Data, Data Reconstruction, and Visualization. Apart from that it is organized in Metanodes which contain workflows. You can open a Metanode and see the inner workflow by double-clicking on the node.

-
Read Data: Loads some images and sets variables which control some flexible parts of the workflow like the normalization and tiling. If you want to execute the workflow on different data use the
Image Readernode to load your images and adjust the values of the variables in theJava Edit Variablenode. -
Data Reconstruction: Executes the model to reconstruct the data.
-
Data Preparation: Expands the image such that every dimension is a multiple of 4, normalizes the image between the 3rd and 99.8th percentile (The percentiles can be changed in the
Java Edit Variablenode), upsamples the Z dimension where the resolution is low and rotates the image around the Y-axis and around the Z axis. -
Model Execution: Executes the model on batches of X-Y-planes. The batch-size can be changed in the
Java Edit Variablenode. It is needed to change the batch-size if the Memory consumption is too high. - Cleaning Up: Rotates the image back, removes the border by which the image was expanded in the Data Preparation step and adds the input image to the table.
-
Data Preparation: Expands the image such that every dimension is a multiple of 4, normalizes the image between the 3rd and 99.8th percentile (The percentiles can be changed in the
- Visualization: Upsamples the original image with the nearest neighbor so the input image and the prediction have the same size and can be compared side by side.
Install and setup KNIME as described in the Installation Instructions.
Download the workflow here.
Right click on "LOCAL (Local workspace)" in your "KNIME Explorer" and choose "Import KNIME Workflow...":
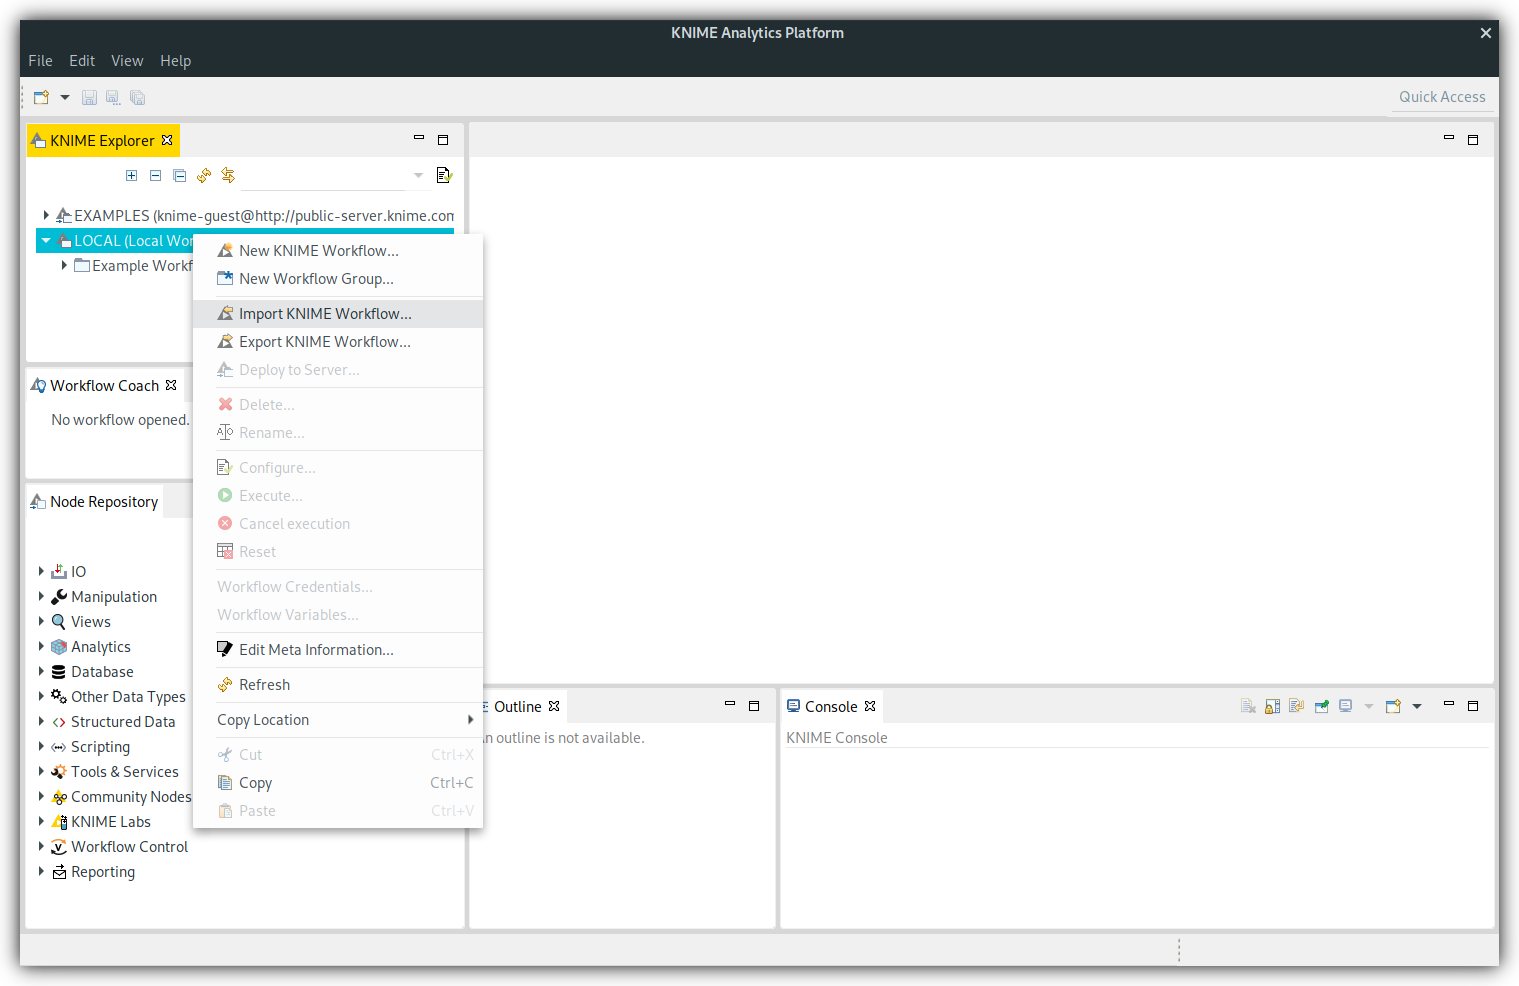
A dialog will open up, where you can choose the downloaded file and press "Finish":

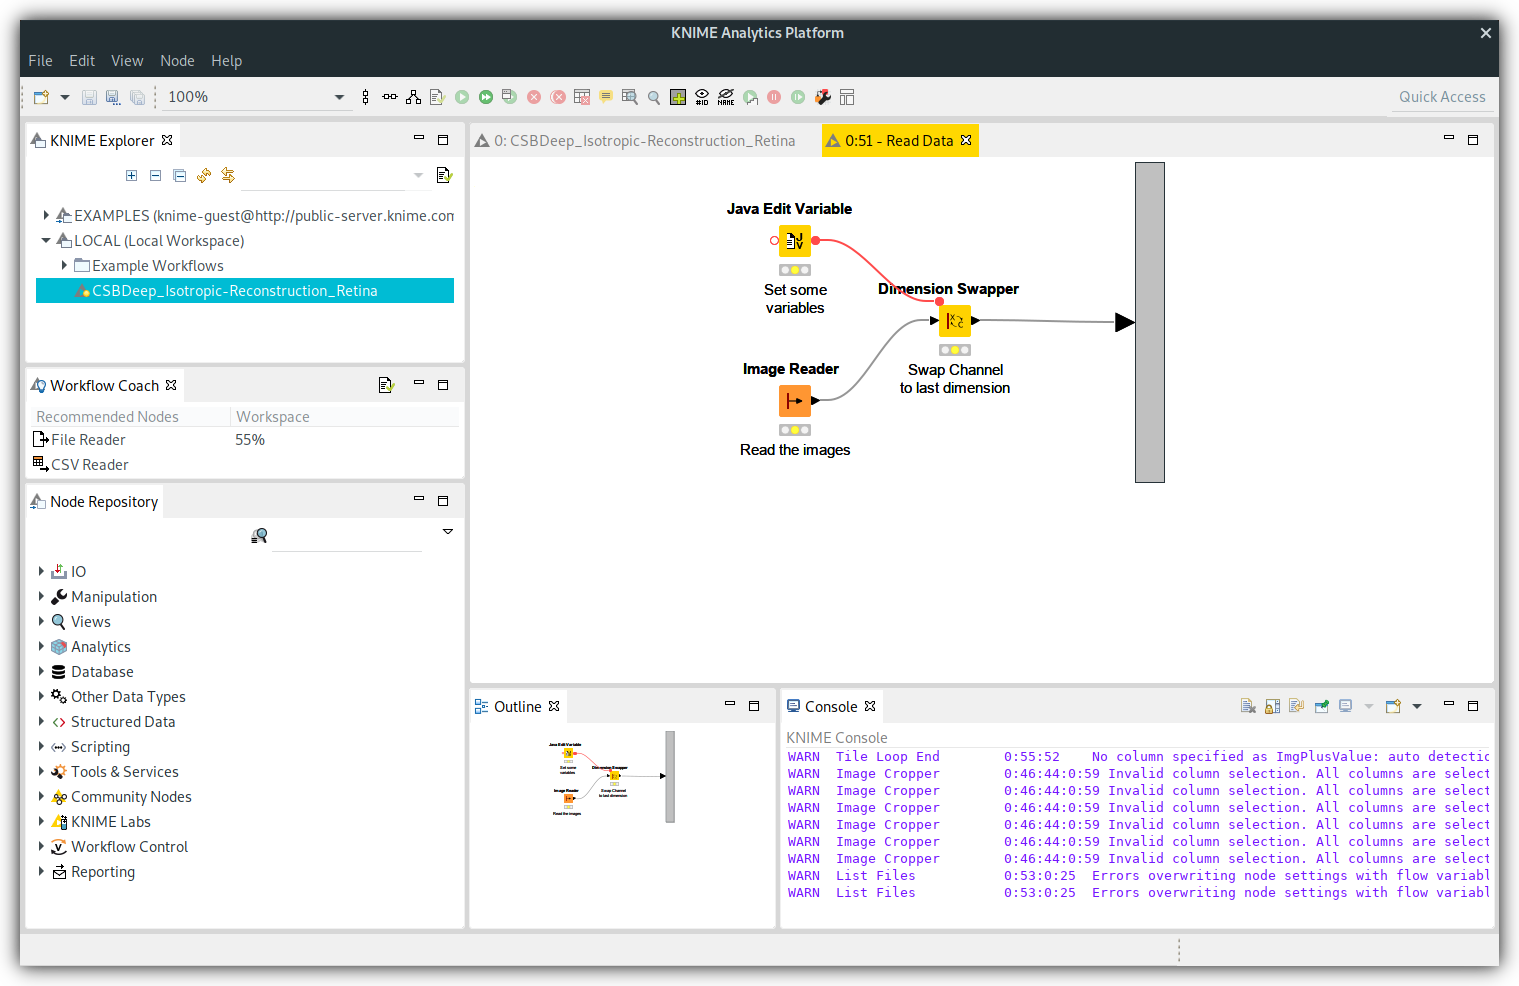
The "CSBDeep_Isotropic-Reconstruction-Retina" workflow should now be in you KNIME Explorer. Double click on it to open it.
Download exemplary image data or use your own images for the following steps.
To load the data open the inner workflow of the "Read Data" meta node by double-clicking on the node or right-clicking and choosing Metanode->Open.
Now, you need to configure the "Image Reader" node. You can either double-click on the node or select it and press F6.
You will see a file browser where you can navigate through the files on your computer and choose files by selecting them and clicking the "Add Selected" button. On the right side of the window, you can see which files will be loaded. Select the tribolium.tif example image and press the "OK" button.
Note: If you choose another very large image or if your computer is not as powerful it is likely that you will get memory issues. See Out Of Memory Exception / High RAM usage.

All done. The KNIME workflow is now configured to read the example images. You can close the "Read Data" workflow by closing the tab and return to the main workflow.

- Whole workflow: Click on the green double arrow button in the toolbar or press SHIFT+F7
- Single node: Select the node and click on the green arrow button in the toolbar or press F7

Compare input and output:
- Right-click on the "Image Viewer" node and select "View: Image Viewer"
- Drag your mouse over the Image column and the Prediction column to compare the input and output beside each other
- Select the 'Synchronize images?' checkbox
- At Renderer Selection select 'RGB Image Renderer' to see both channels of the image at once in color (You need to do this for both images).
- Select the checkbox beside the Z dimension (This will rotate the image such that the Z dimension is displayed on the Y-axis and the Y dimension is displayed on the X-axis)
- You can now scroll through the X dimension by dragging the X-dimension slider

- Select the checkbox beside the X dimension (This will rotate the image such that the X dimension is displayed on the X-axis)
- You can now scroll through the Y dimension by dragging the Y-dimension slider

You can use your CARE model by adding a new TensorFlow Network Reader node and configure it to load your model. The model can then be connected to the Model Execution Metanode.
After the data reconstruction, you can use KNIME to process your images further. KNIME provides many nodes which can do sophisticated data analysis and image processing. You can modify and extend the workflow to solve your task.
You can find nodes and add them to the workflow using the 'Node Repository' and connect them by dragging a data connection from one node to another with your mouse.
More information on how to use KNIME can be found on their website:
If the image processed at once is too large the model will allocate too much memory and fail with an out of memory exception or consume all the available system memory. The workflow solves this problem by processing the image slices in smaller batches.
You can edit the number of slices per batch to fit your machine and data by editing the value of batch_size in the Java Edit Variable node:

Rules:
- Decrease
batch_size-> lower memory usage, slower execution - Increase
batch_size-> higher memory usage, faster execution