| sidebar | permalink | summary |
|---|---|---|
sidebar |
create-vmware-cluster.html |
Learn how to create a Kubernetes cluster in your VMware environment |
Learn how to create a Kubernetes cluster in your VMware environment in three clicks, using NetApp Kubernetes Service (NKS).
|
Note
|
The ability to create VMware clusters with NKS is currently in pre-release. This feature is not GA (Generally Available). |
Requirements
-
VMware installed, configured, and registered with NKS. Click here to learn how to register your VMware environment with NKS.
-
An NKS account. If you don’t have one already, you can sign up for a free 30-day trial with no credit card required at https://nks.netapp.io.
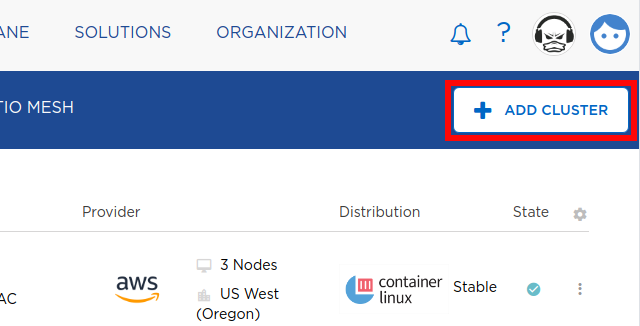
Log in to NetApp Kubernetes Service (NKS) and click + ADD CLUSTER.
Click the VMware tile to select VMware as the provider.

Click the Edit link on the left to edit the provider details. Select your VMware environment from the VMware Installation drop-down menu, then click Save.

Update any of the following if you wish:
-
Number and size of master and worker nodes.
-
NKS workspace.
-
SSH keypair.

When your provider configurations are ready, click SUBMIT.
On this step, you can configure your Kubernetes cluster:
-
Set the cluster name.
-
Change the Kubernetes version.
-
Update the Pod and/or Service Network
-
Change the OS distribution.

Verify that all the choices are correct, then click Submit. This will start building your NetApp on VMware, and it will be ready for use within minutes.
Did this article answer your question? If not, contact us.