 The visualizer is composed by two parts:
- SERVER : A flask application that implements a set of API which read and interpret the json result files of of dr_checker.
- CLIENT : A react application that uses the API provded by the server and displays those results in a fancy way.
I chose to separate these two components to create a standalone API server without any client bound to it (for this reason I didn't integrate the react application directly in the flask application structure). In this way it is possible to develop other types without touching the server.
- Install python virtualenv and virtualenvwrapper
- Create a virtualenv for this project and name it whatever you want (i. e. dr_checker_venv)
mkvirtualenv dr_checker_venv - Activate the created virtual environment
workon dr_checker_venv - Install the dependencies
pip install -r ./server/requirements.txt - Configure the settings in ./server/config.py (more information on each setting inside ./server/Readme.md)
- Install node js
curl -sL https://deb.nodesource.com/setup_8.x | sudo -E bash - sudo apt-get install -y nodejs - Install npm
sudo apt-get install npm - Install serve
npm install -g serve - Install the dependencies
npm --prefix ./client install ./client - Build the application
npm --prefix ./client run build ./client
- Change the results dir in server config file:
./server/config.pyRESULTS_DIR=<The directory where the json are located> - Run the server
python ./server/app.py - Run the client
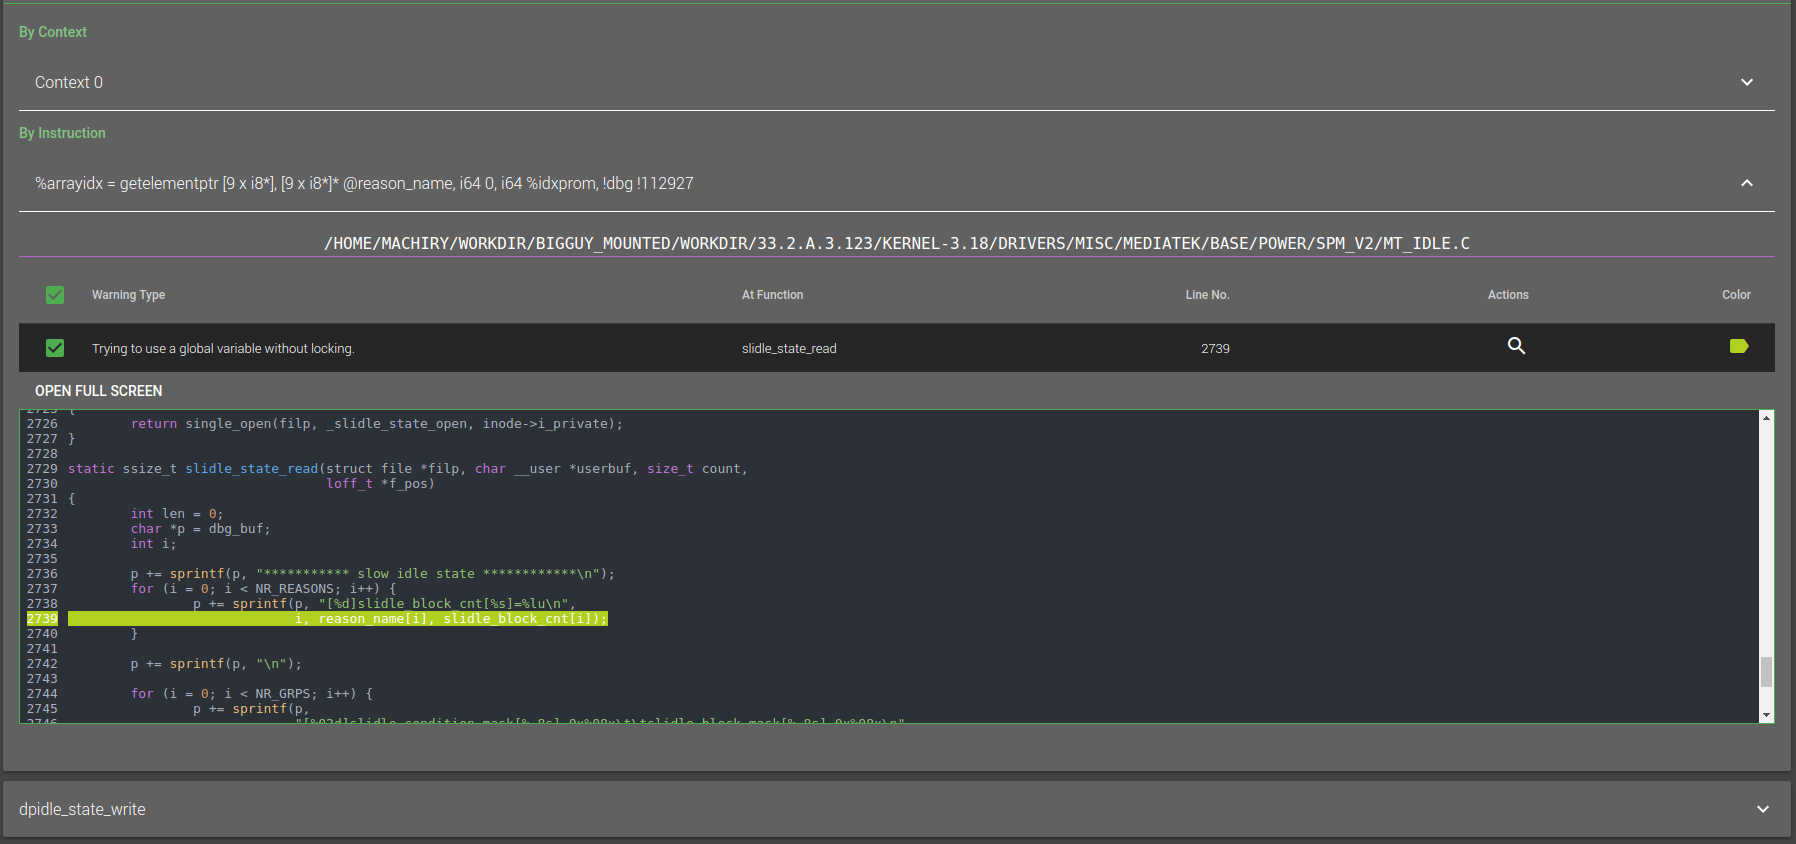
Note: After you open the client URL on a webpage, please wait for 30-50 seconds for results to populate on the webpage. This is because the server need to process all the JSONs and store them in a DB.
serve -s ./client/build
Our server component has six configuration options, that control the working of the server.
- DEBUG: [Optional, Default=false] A Boolean flag to allow debug logs.
- RUN_REMOTE: [Optional, Default=True] A Boolean flag to allow the server listen on all the interfaces.
- RESULTS_DIR: [Required] Path to the directory containing all jsons.
Following options will help in warnings when kernel source folder is different from the one used during compilation.
- REPLACE_KERNEL_SRC: [Optional, Default=false] A Boolean flag to allow using alternate kernel source directory.
- PATH_TO_BE_REPLACED: [Optional, Default=``] Kernel source in warnings json which should be replaced.
- SOURCECODE_DIR: [Optional, Default=``] The new kernel source directory which should be used instead of the one present in the warnings json.
All these options are in the file: ./server/config.py. You can modify them to handle the working of server.
Enjoy, Happy Hunting 😄