
Exposing detailed information about the server, backend technologies, or other components running on the web server can pose a security risk. This information is often referred to as "server headers" or "HTTP response headers“. It includes details such as the web server software, server version, programming language, and other technologies in use.
If information about the server's application reveals the presence of vulnerabilities such as XSS, CSRF, DDoS, or others, it increases the risk of malicious activities. Attackers armed with this knowledge could exploit the identified vulnerabilities, potentially leading to harmful consequences.
For a better understanding of HTTP response headers vulnerabilities, please refer X-Powered-By, Server and HTTP response headers cheet sheets.
During feature execution, Cometa records and validates network response headers filters the ones exposing sensitive information, and displays the count in real time. After execution, users can check the step report for details on vulnerable headers and network responses, aiding in understanding.
The network Response list item contains 2 section
The list presents vulnerable headers and their values in a JSON key-value pair format.
The network response refers to the data returned by a server in response to an HTTP request made by a client. It includes various pieces of information, which can be analyzed by referring to network responses.
-
URL Indicates the endpoint that was requested, providing information about the resource accessed.
-
Status Code Indicates the success, failure, or other conditions of the request (e.g., 200 for success, 404 for not found, 500 for server error).
-
Headers Metadata associated with the response, including content type, content length, caching directives, and more.
-
Cookies Information set by the server in cookies, which can be used for tracking, session management, or other purposes.
-
Redirects If the response is a redirection, you can get the URL to which it redirects and the type of redirection (e.g., 301 for permanent, 302 for temporary).
-
Timing Information Details about how long it took for the server to respond (e.g., latency, time to first byte).
When creating a feature in Cometa, the Information section includes an option to enable the Network Logging feature, allowing users to enable or disable this security functionality.
Note: Enabling this checkbox will record all your network response headers and store them in the database, potentially increasing the data load. Therefore, if the feature is not in use, please kindly consider disabling the checkbox.

Cometa will display a list of network responses within the step report. This list will show which network responses were received during each step. Specifically, if a step takes 2 seconds to execute, any network responses received during those 2 seconds will be stored alongside the step.
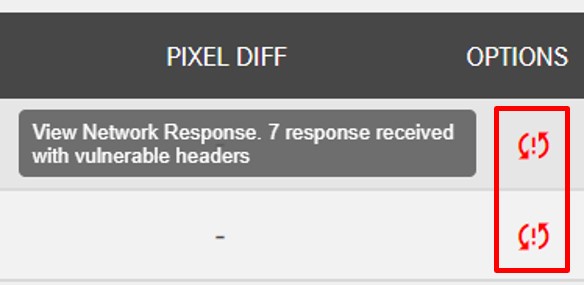
In the OPTIONS section of the Step Report, you should find the following icon.
Note: In case of vulnerabilities, a red indicator will be shown; otherwise, the color will be gray.
-
This indicates that the network header has been recorded and does have vulnerabilities.
-
This indicates that the network header has been recorded and does not have vulnerabilities.

-
Click on the icon shown above to view the list of responses.

-
The JSON data can be analyzed using JQ patterns. Please refer JQ Documentation to learn about patterns


This provides instructions on how to configure and use the email feature to send notifications upon completion or failure of a Feature/Test execution. Additionally, it covers how to create a custom email body using an HTML template and include screenshots from the steps.
-
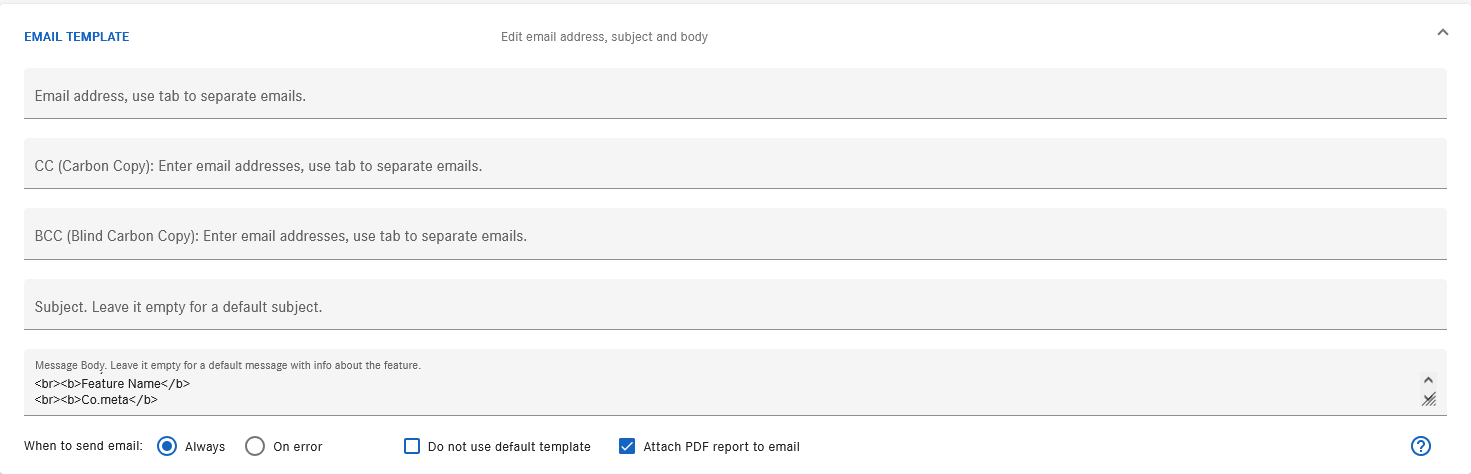
In the create Feature screen navigate to the EMAIL TEMPLATE section
-
Add Recipient Email Addresses:
- In the field labeled "Email address, use tab to separate emails," enter the email addresses of the recipients. Separate multiple email addresses by pressing the
Tabkey. - Example:
[email protected]
- In the field labeled "Email address, use tab to separate emails," enter the email addresses of the recipients. Separate multiple email addresses by pressing the
-
CC (Carbon Copy):
- This field allows you to include additional recipients who will receive a copy of the email. The recipients listed here can see each other's email addresses. Use tabs to separate multiple email addresses.
- Separate multiple email addresses by pressing the
Tabkey.- Example:
[email protected]
- Example:
-
BCC (Blind Carbon Copy):
- This field is used for entering email addresses of recipients who will receive the email without other recipients being aware of it.
- Each recipient added here will not be able to see the other addresses listed in this field. Use tabs to separate multiple email addresses.
- Separate multiple email addresses by pressing the
Tabkey.- Example:
[email protected]
- Example:
-
Subject:
- Enter the subject of your email in the "Subject" field. If you leave this field empty, a default subject will be used.
- Example:
Subject. Leave it empty for a default subject.
-
Message Body:
- Enter the body of your email in the "Message Body" field. If left empty, a default message with information about the feature will be used.
- You can create a custom body using an HTML template and include screenshots as shown below. Example:
Hi Mr, ABC
<br>
Please find attached Screenshots for details
<br>
$screenshot[1]
<br>
<br> Screen shot for second screen
<br>
$screenshot[2]
<br>
<br>
$screenshot[3]
<br>
<br>
<br>Thanks,
<br><b>Feature Name</b>
<br><b>Co.meta</b>
- Screenshots will be included in the email body in the sequence they are enabled in the steps. The placeholders $screenshot[1], $screenshot[2], etc., correspond to the screenshots of the steps that have the screenshot option enabled.
- When an email is received, you will see that the screenshots are attached as images in the same sequence as they are mentioned in the mail body template above.
-
Email Sending Conditions: Choose when to send the email:
- Always: Sends an email regardless of the task's outcome.
- On error: Sends an email only if the task encounters an error.
-
Additional Options:
- Do not use default template: Check this option if you do not want to use the default email template, By default this is Off.
- Attach PDF report to email: Check this option if you want to attach a PDF report to the email, By default this is On.
