UserGuide
Note: In order to test please visit our fork at https://datastreams-ocean-protocol.vercel.app/
Publishing a Streaming Asset
Procuring a Streaming Asset
To make use of the marketplace the first step is to connect your wallet. Then you can access various Ethereum networks.
We're using MetaMask for these docs. Click the ”Connect Wallet” button and follow the MetaMask instructions.

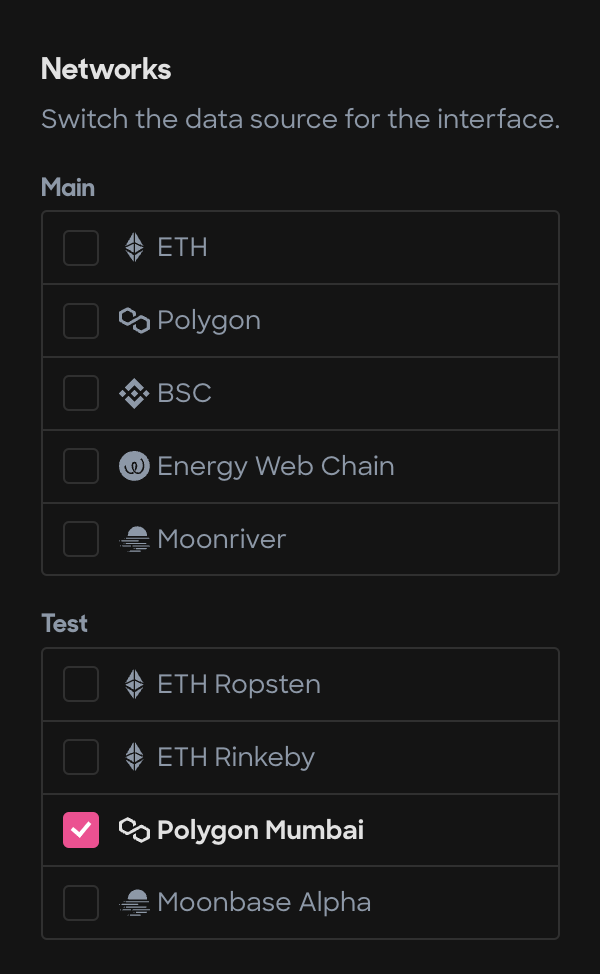
Once connected you can choose a network in MetaMask. You can filter for the same network in the marketplace by clicking the globe icon. Select the checkboxes for the networks you'd like to use. We're using the Polygon Mumbai testnet.
On any marketplace page click the ”Publish” link in the menu bar. This will bring you to the publishing form. The form has five parts. Following are the steps required for each subform, with a description for each field.
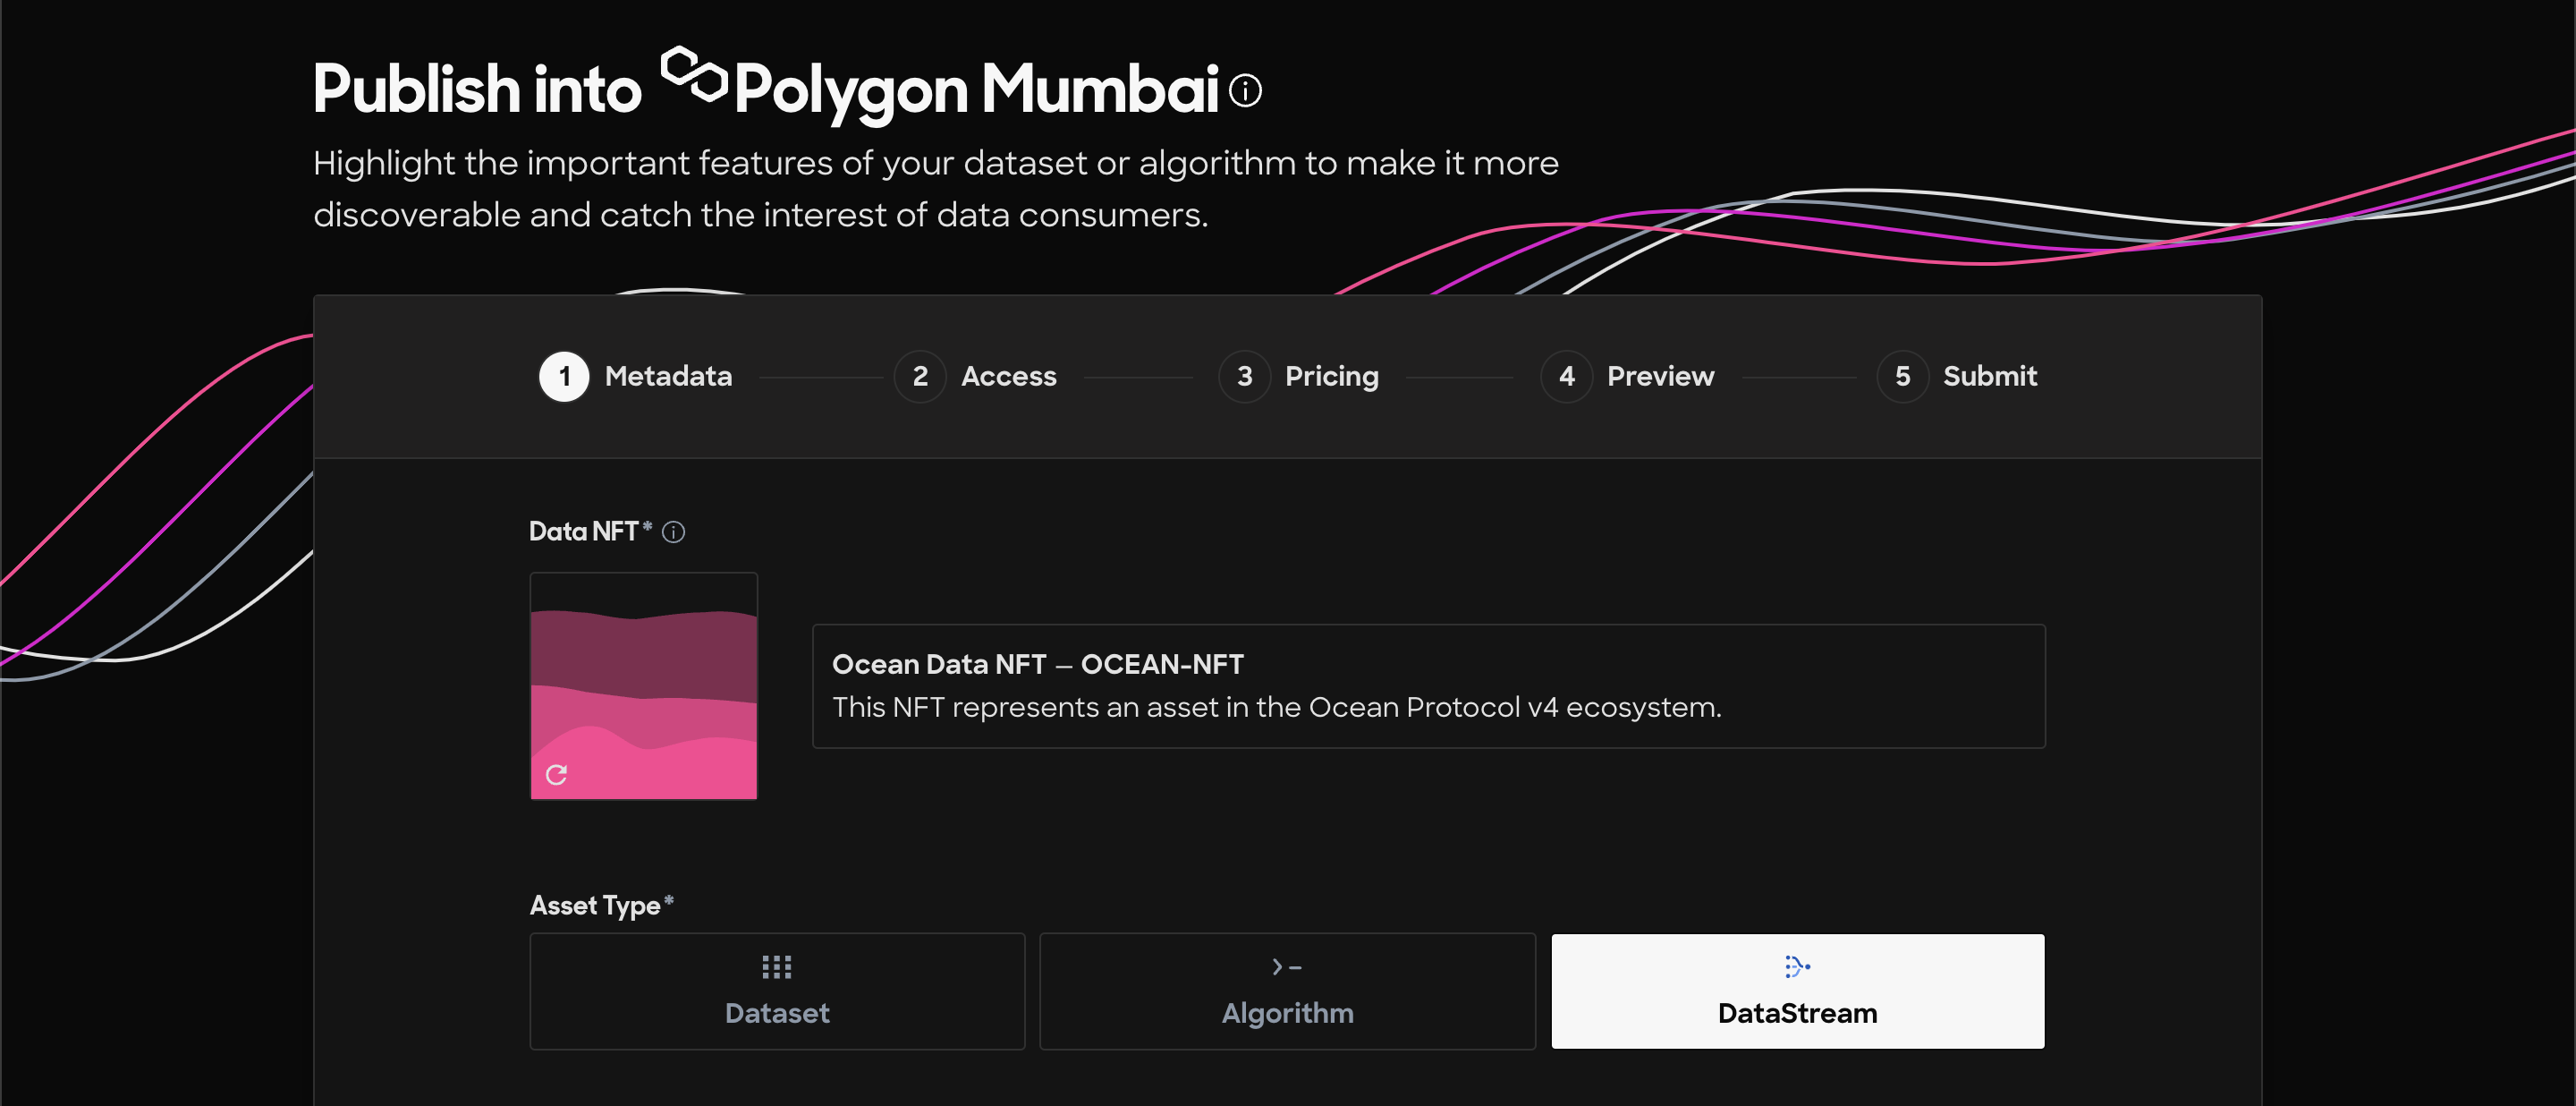
Data NFT: The first field contains an auto-generated image for the Ocean Data NFT that will be created. You can use it as is or click the little reload icon in the lower left of the image to generate another variant.
Asset Type: Click “Datastream” to select the streaming data type.
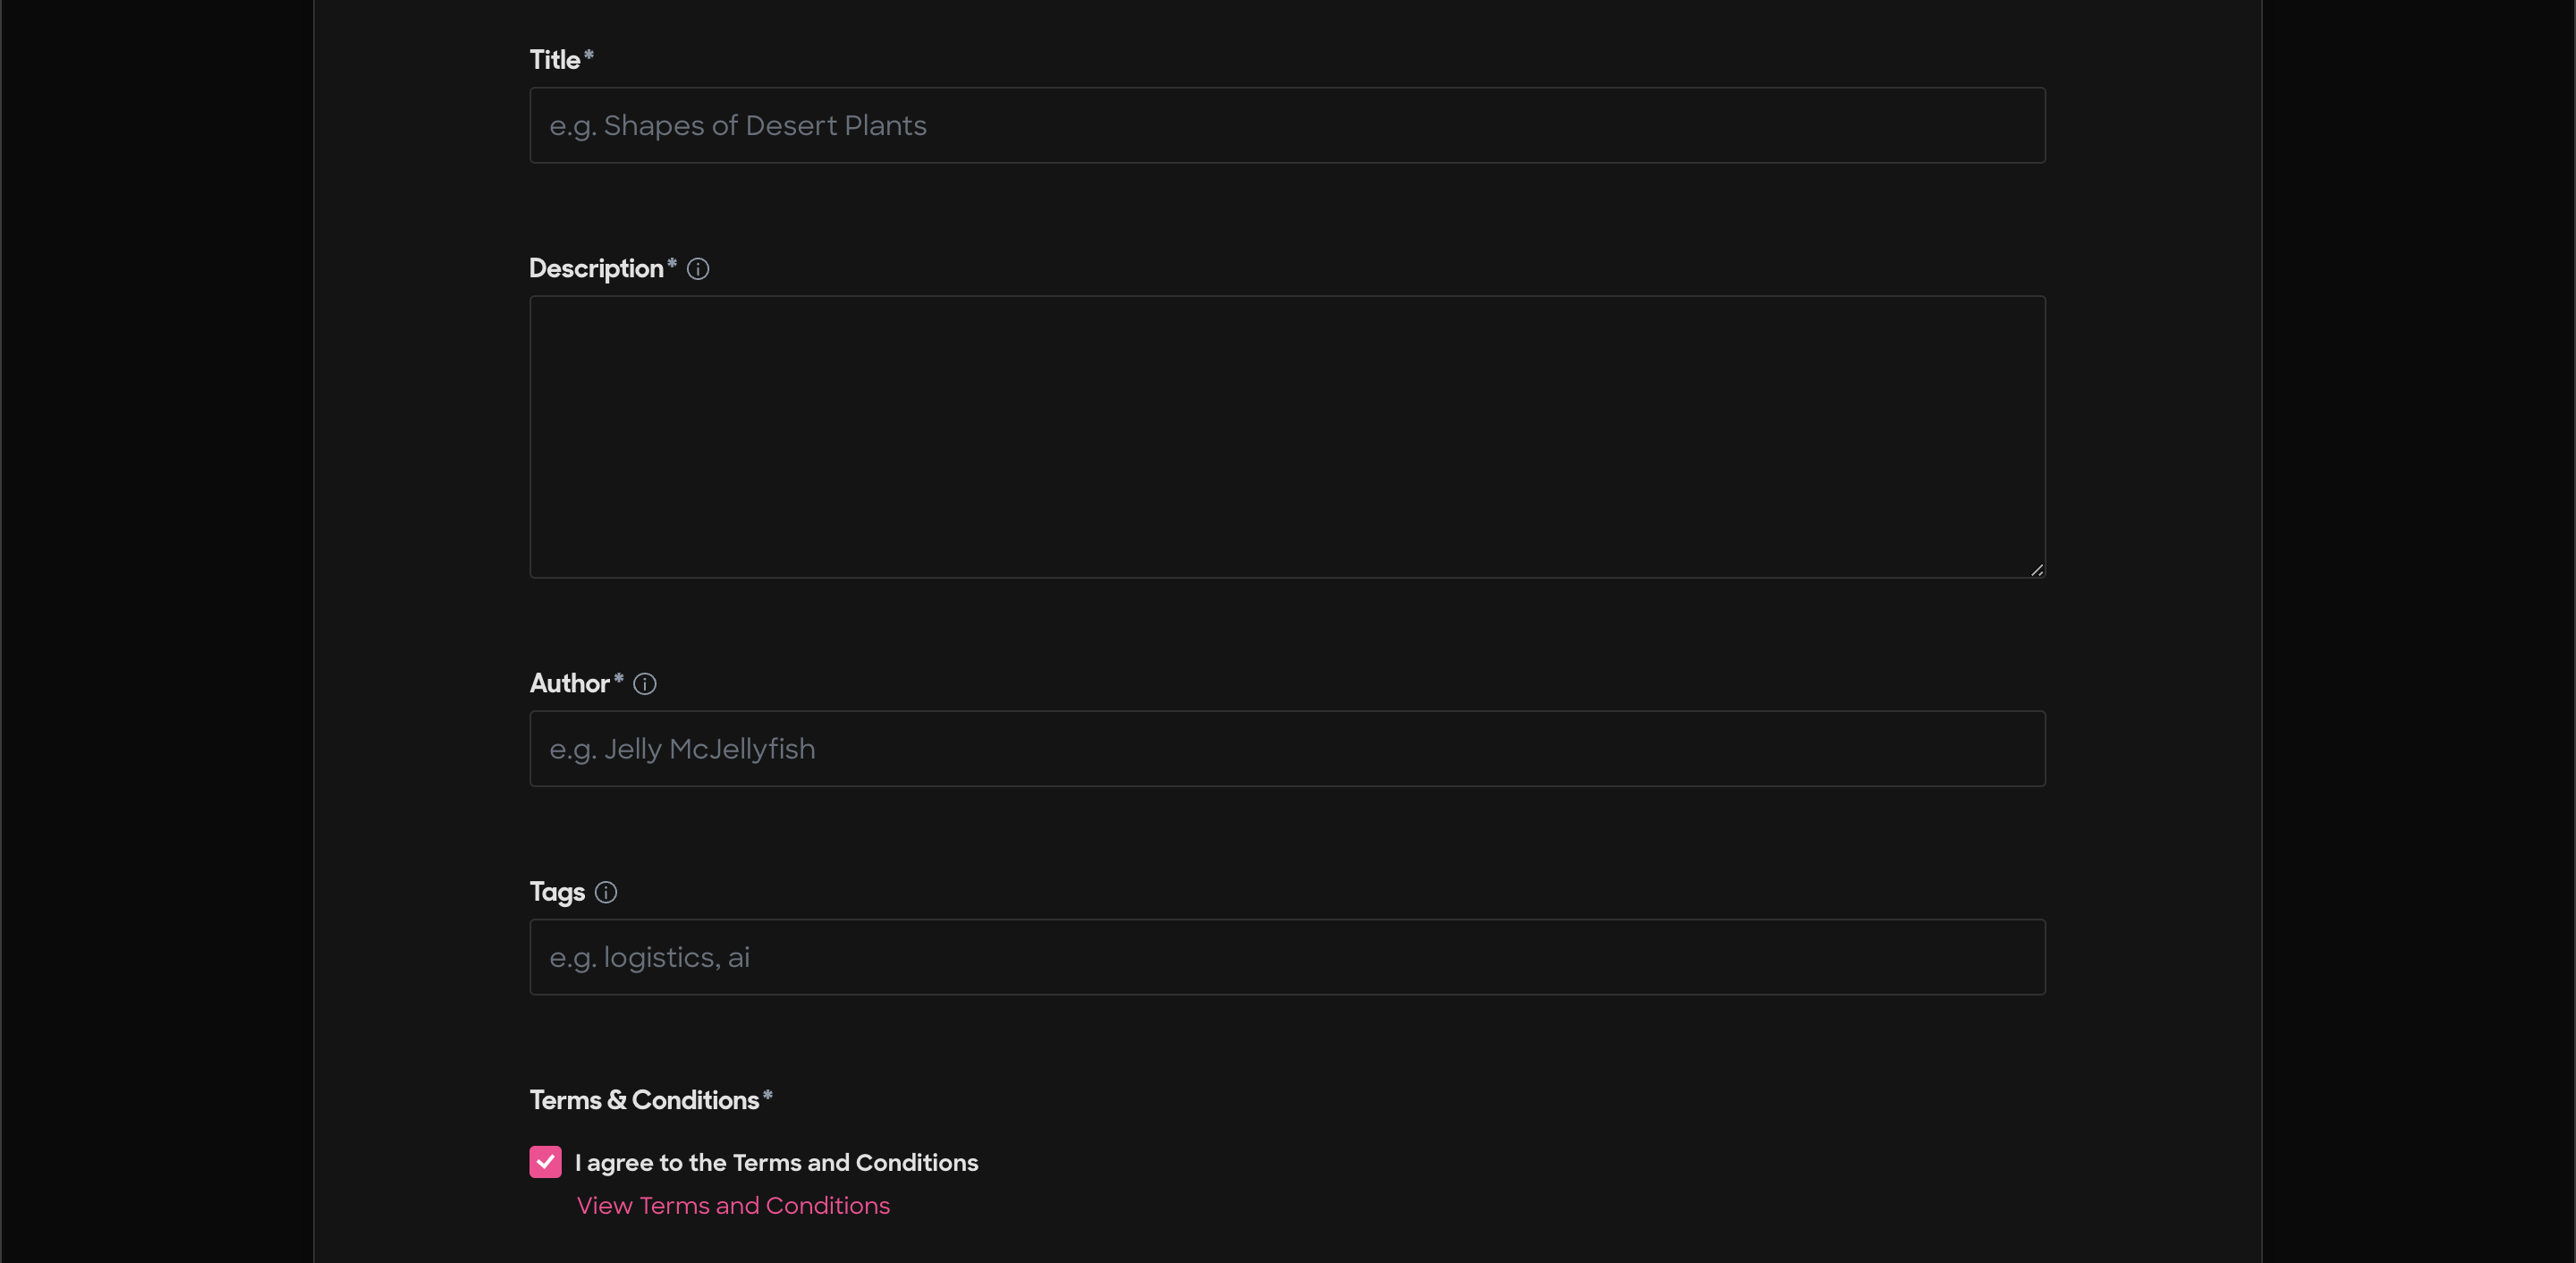
Title: Fill in a concise title.
Description: Add a description of the datastream. At least a few words are required.
Author: Fill in the name you'd like to be known as.
Tags: Create meaningful tags for the datastream. These will help it get found when users search.
Terms & Conditions: Click the checkbox to agree.
If all the required fields are filled in the “CONTINUE” button will activate and you can proceed.
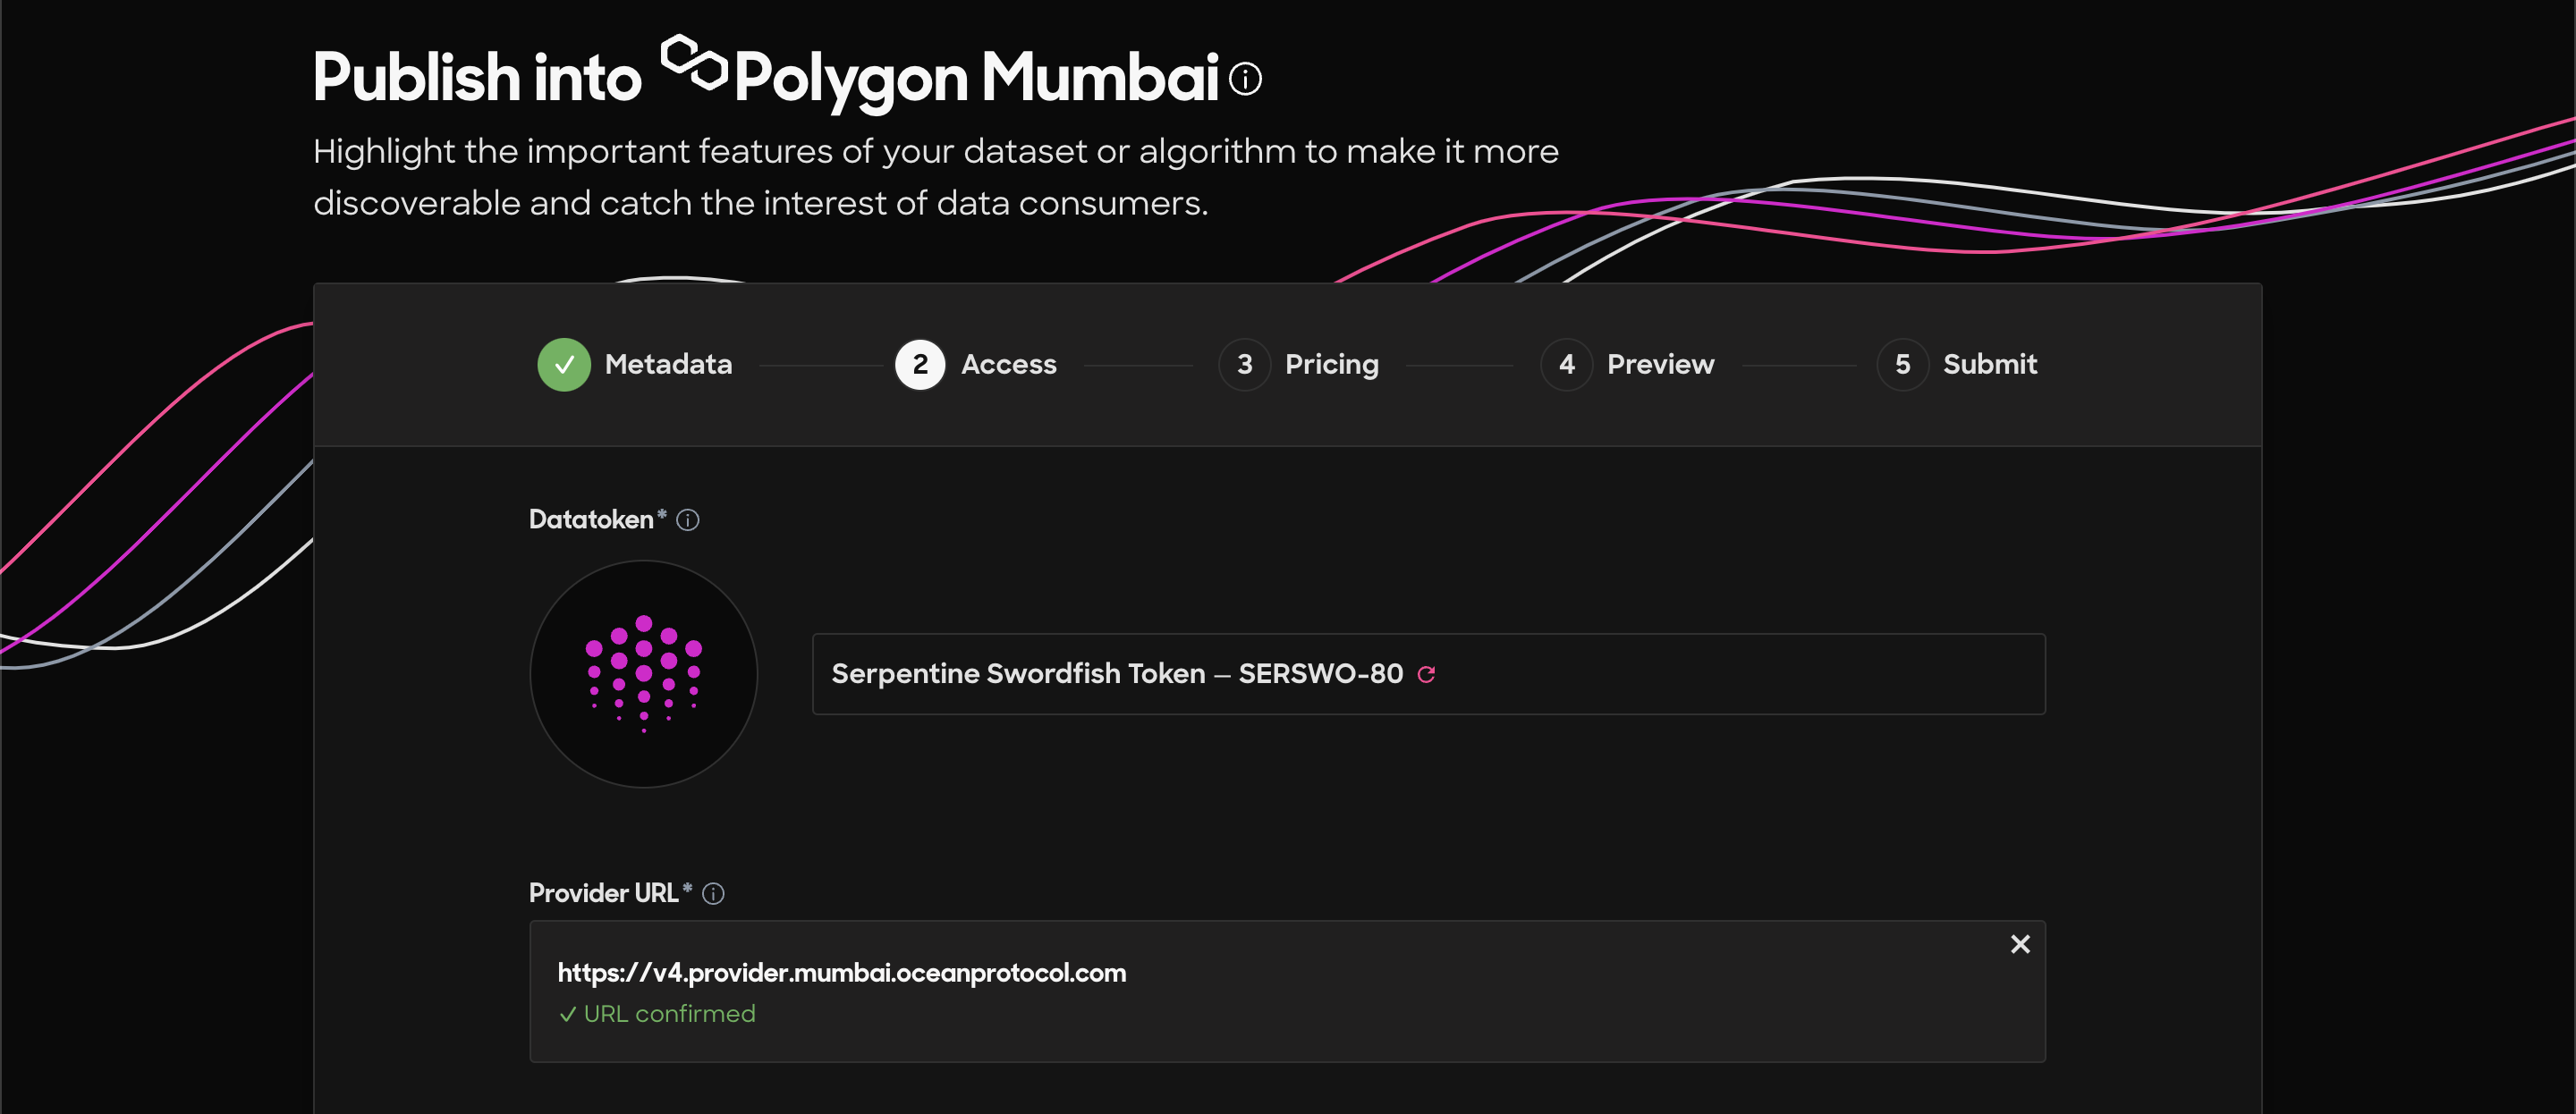
Datatoken: This is a suggested naming for the datatoken of your new asset. If for some reason you don't like it click the little reload icon at the right to generate a new name.
Provider URL: This field is automatically filled in with the Ocean Protocol provider. Unless you're doing advanced publishing you shouldn't change it.
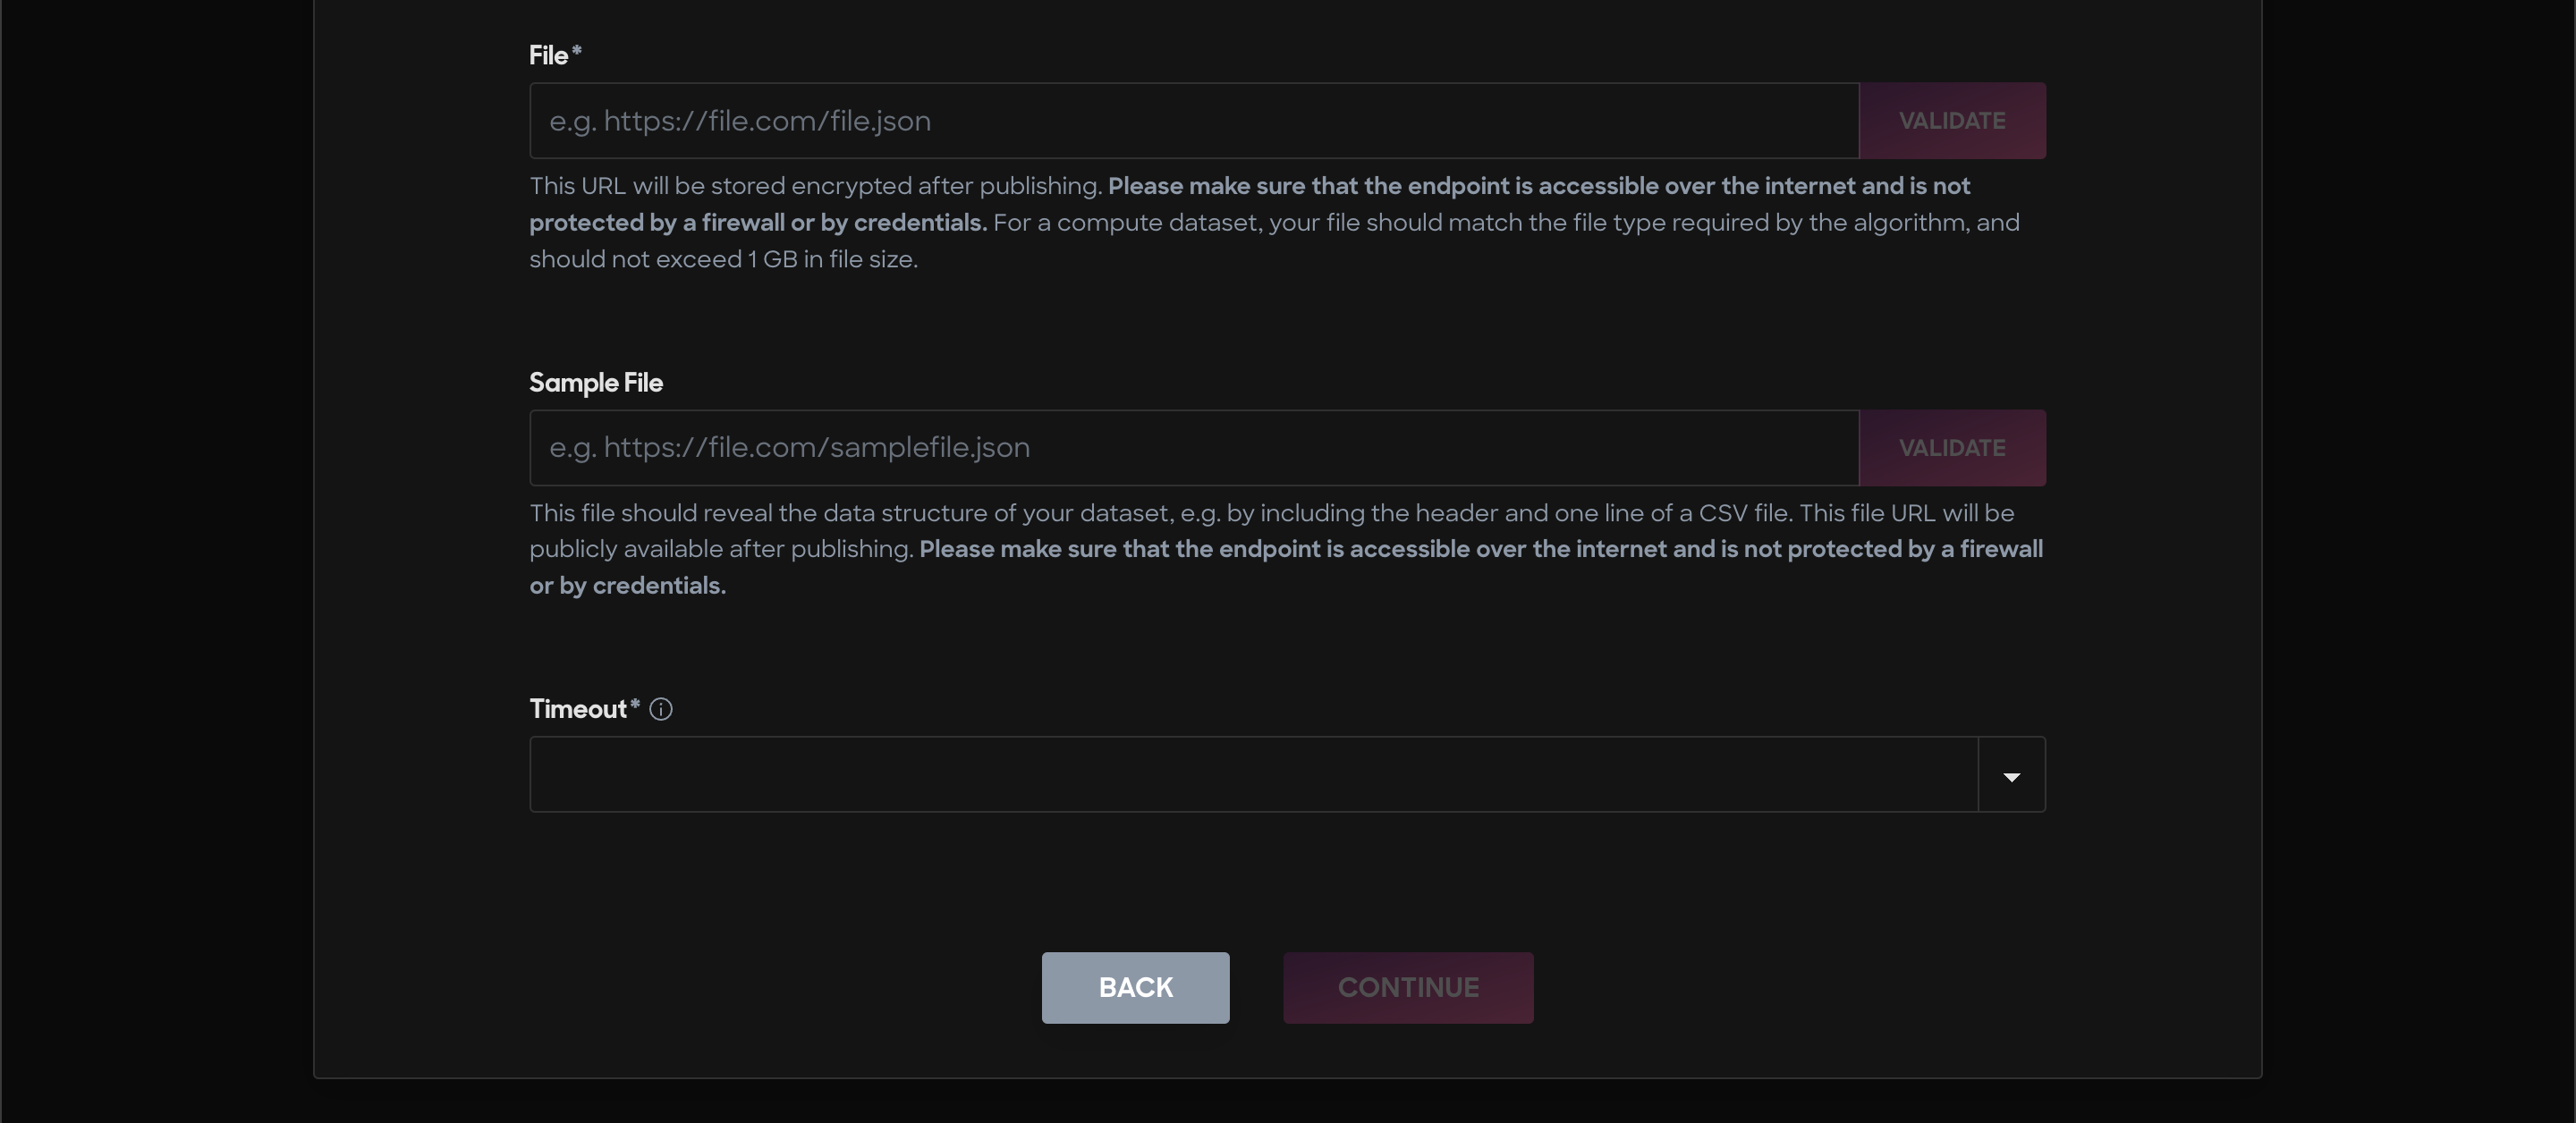
File: Paste the URL of your datastream into the File field. The “Validate” button will activate. Click it and the app will verify the content at your URL.
Sample File: Because a datastream is only useful if the developer understands its format, we suggest using this field to link to the API Docs. Or it can be used to link to another related resource.
Timeout: Choose how long you would like to make the stream available. When done click the “CONTINUE” button.
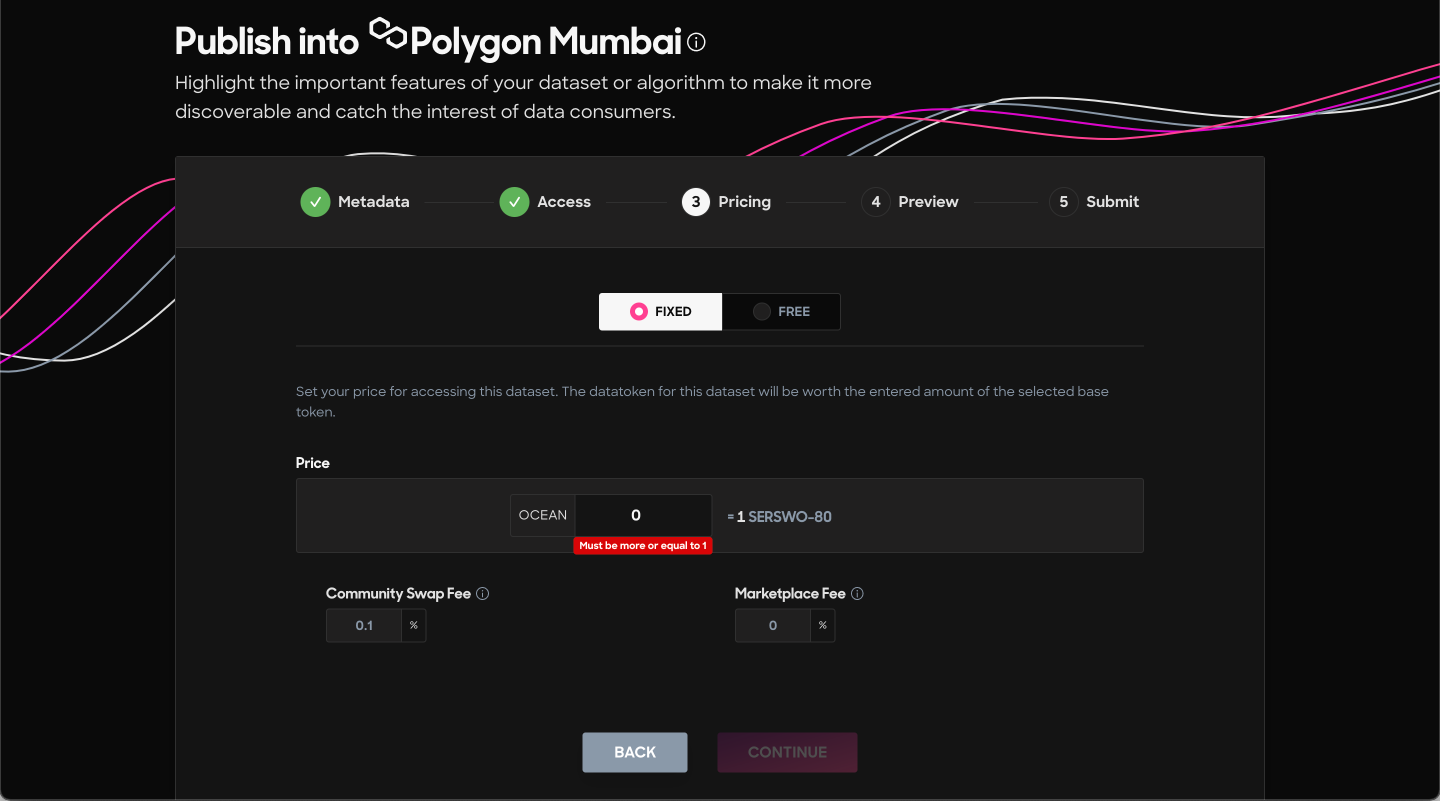
FIXED or FREE: Decide if you would like to charge for this Datastream or make it freely available by clicking the corresponding button.
Price: If you're charging, fill in the price you'd like to receive for this Datastream. The price can have a decimal but it must be more than 1. Click the “CONTINUE” button to proceed.
Price (free): If the asset will be free click the checkbox to confirm. Then click the “CONTINUE” button to proceed.
Community Swap Fee and Marketplace Fee: For paid assets there are minor fees deducted from each payment. These fields are not editable.
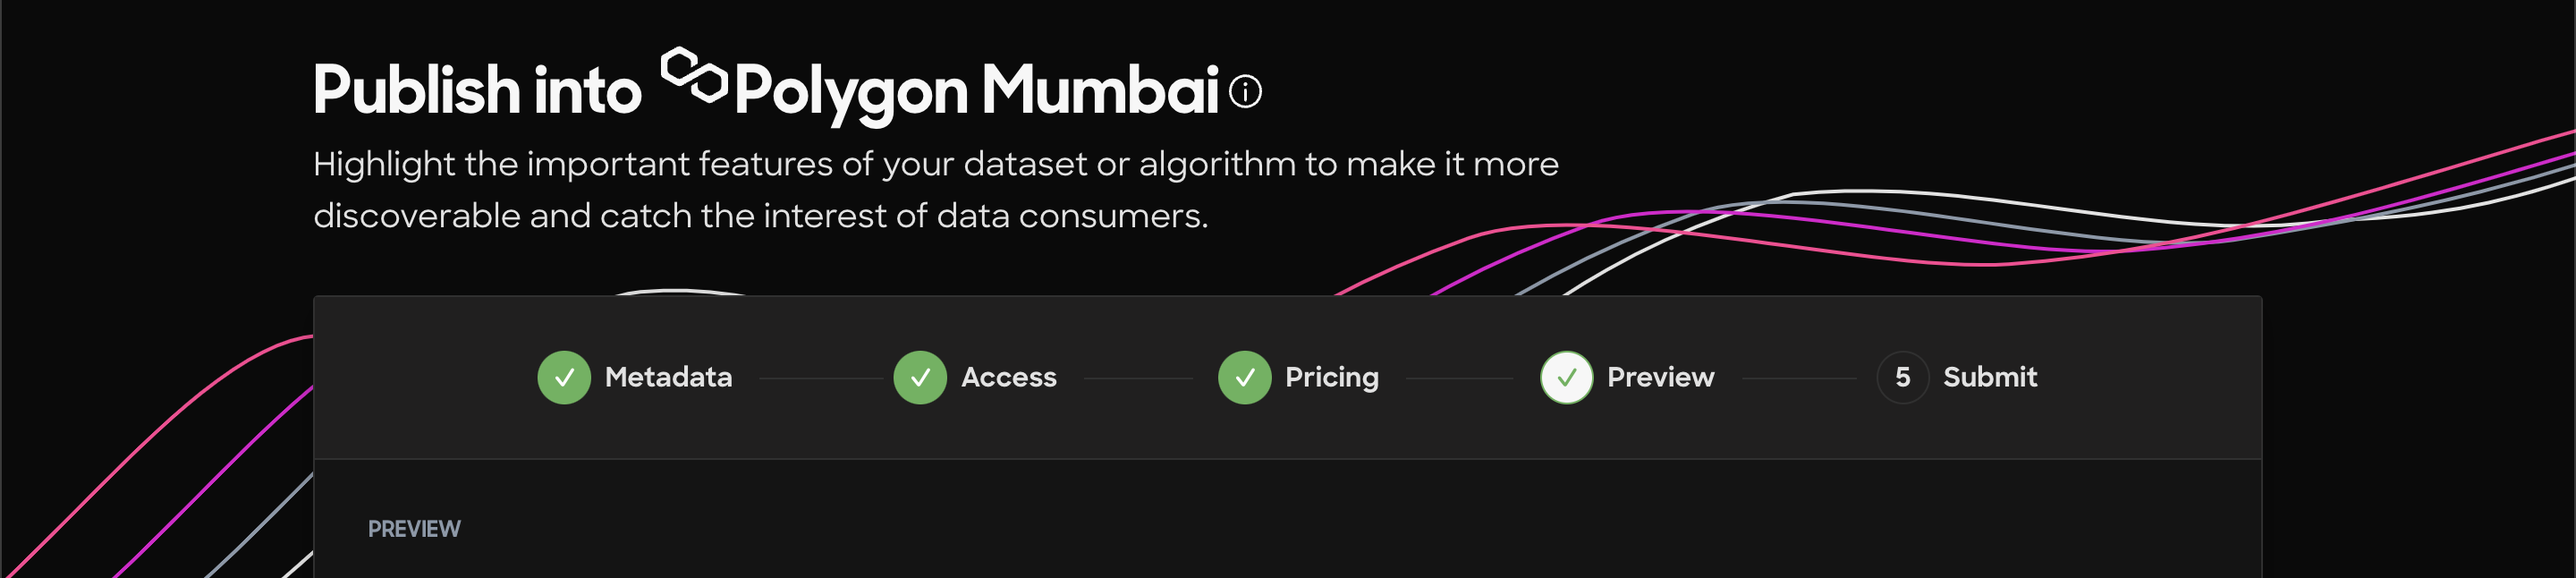
The app displays a preview of how the new asset will look when published. Do a check of all the details. If anything is incorrect you can use the “BACK” button to re-edit. If everything checks out click the “CONTINUE” button.

Now it's time to publish the new Datastream. As described in the page, the app will go through three steps. These will require two transactions, one to create the tokens and a second to publish the DDO.
Click the “Submit” button. MetaMask will pop up. Review the transaction and click “Confirm”. Wait a few moments for the transaction to complete.